Wheel Speed Sensor Replacement: Step by Step Guide
As you embark on the journey of replacing your wheel speed sensor, it’s important to have a clear understanding of the process. This step-by-step guide will walk you through the intricate details, ensuring a seamless experience from start to finish.
Understanding the Wheel Speed Sensor
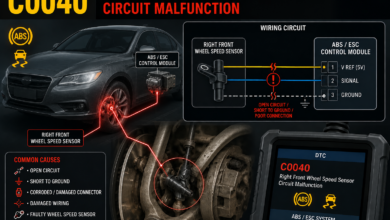
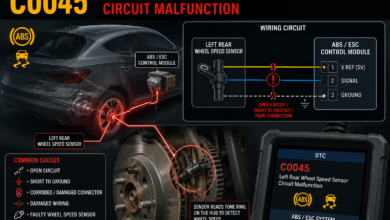
The wheel speed sensor plays a crucial role in monitoring the speed of each wheel and transmitting this data to the vehicle’s ABS system. By detecting any variations in wheel speed, the sensor helps prevent skidding and loss of control, ultimately enhancing safety on the road.
Preparation and Safety Measures
Before diving into the replacement process, it’s essential to take the necessary precautions. Make sure your vehicle is parked on a flat surface, and engage the emergency brake. Additionally, disconnect the battery to avoid any electrical mishaps during the procedure.
Locating the Wheel Speed Sensor
Depending on your vehicle model, the wheel speed sensor can be found in different locations. Refer to your owner’s manual or conduct a quick online search to pinpoint the exact location of the sensor on your specific vehicle. Once located, carefully remove any obstacles that may impede access to the sensor.
Removing the Old Sensor
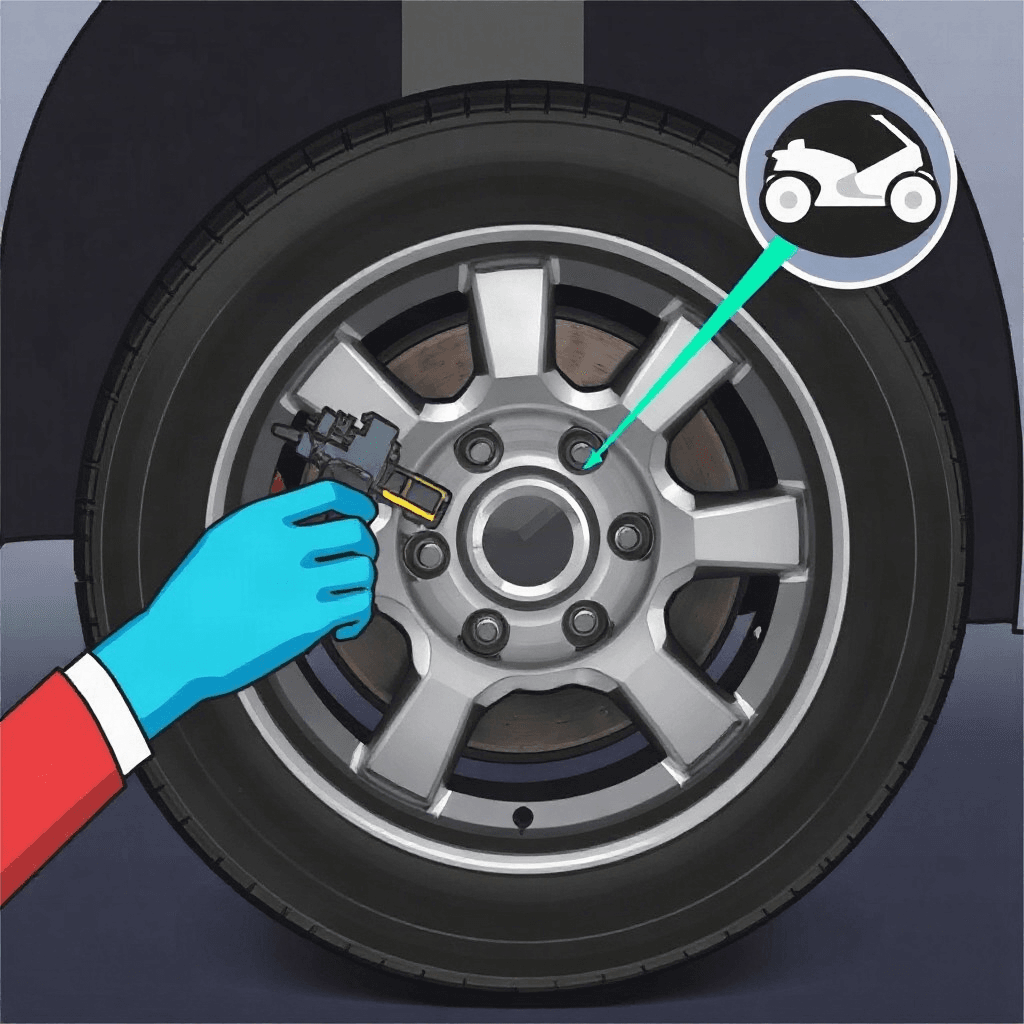
With the necessary tools at hand, gently disconnect the electrical connector attached to the sensor. Use a suitable wrench to loosen the mounting bolts securing the sensor in place. Slowly remove the old sensor, taking care not to damage any surrounding components in the process.
Installing the New Sensor
Carefully position the new wheel speed sensor in place, ensuring it aligns correctly with the mounting points. Tighten the mounting bolts securely, making sure the sensor is firmly in position. Reconnect the electrical connector to establish a seamless connection between the sensor and the vehicle’s system.
Testing and Calibration
Once the new sensor is securely installed, it’s time to test its functionality. Start the vehicle and take it for a test drive, paying close attention to any warning lights or unusual noises. If everything checks out, proceed to calibrate the sensor according to the manufacturer’s guidelines for optimal performance.
As you complete the replacement process, remember to double-check all connections and ensure everything is in proper working order. By following this comprehensive guide, you’ll be able to replace your wheel speed sensor with confidence and precision, ensuring your vehicle runs smoothly and safely on the road.