How to Test CAN Bus Resistance With a Multimeter
You’re probably familiar with the CAN Bus system if you work in the automotive industry or any field that involves complex electronic systems. CAN Bus is a communication protocol that allows various components in a vehicle or other machinery to communicate with each other. One important aspect of maintaining a reliable CAN Bus system is ensuring the proper resistance levels. In this article, we will guide you on how to test CAN Bus resistance using a multimeter.
Understanding CAN Bus Resistance
Before we dive into the testing process, let’s first understand why CAN Bus resistance is crucial. The resistance in a CAN Bus system is like the traffic flow on a highway – it needs to be neither too high nor too low for the signals to travel effectively. High resistance can lead to signal distortion, while low resistance can cause signal reflections. Both scenarios can disrupt communication between the components on the CAN Bus network.
To ensure the smooth operation of the CAN Bus system, it’s essential to measure the resistance at various points in the network. This is where a multimeter comes into play, allowing you to accurately measure the resistance levels and identify any potential issues.
Selecting the Right Multimeter
When it comes to testing CAN Bus resistance, not all multimeters are created equal. You need a multimeter that is capable of measuring resistance accurately within the range typically found in a CAN Bus system. Look for a multimeter with a high precision and a resistance measurement range suitable for automotive applications.
Before you begin testing, make sure to set your multimeter to the resistance measurement mode. This will ensure that you get accurate readings when probing the CAN Bus network.
Testing CAN Bus Resistance
To test CAN Bus resistance with a multimeter, start by disconnecting the power source from the CAN Bus network to prevent any unwanted interference. Then, locate the two ends of the CAN Bus network that you want to test. These could be the terminals of a connector or any other accessible points in the network.
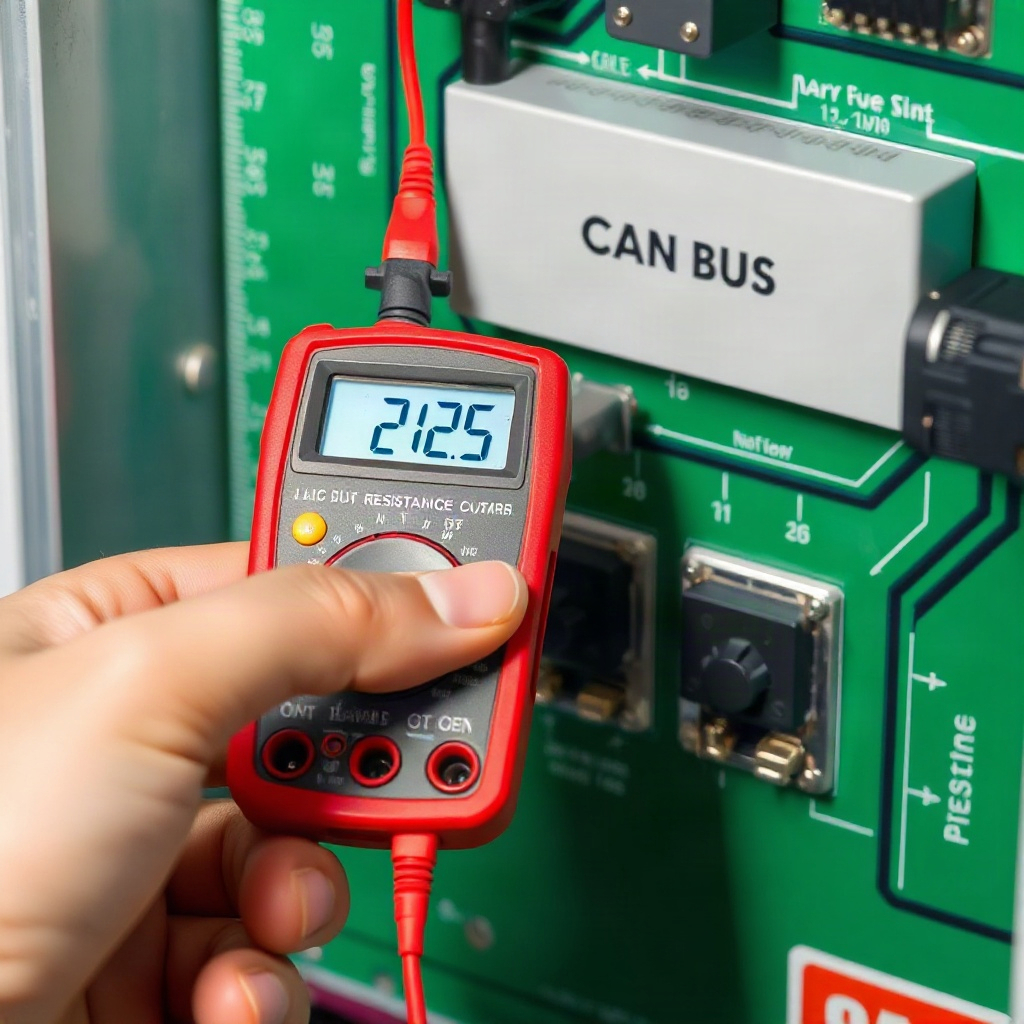
Next, take your multimeter and set it to the resistance measurement mode. Carefully probe the two ends of the CAN Bus network with the multimeter leads. The multimeter will display the resistance value, which should ideally fall within the specified range for the CAN Bus system you are testing.
Troubleshooting Resistance Issues
If you encounter resistance values that are outside the normal range, it could indicate a problem in the CAN Bus network. High resistance values may point to corroded connectors or damaged cables, while low resistance values could indicate a short circuit or a faulty component.
In such cases, it’s essential to investigate further to pinpoint the exact location of the issue. Check the connectors, cables, and components in the CAN Bus system for any visible signs of damage or wear. By identifying and resolving these resistance issues, you can ensure the reliability and efficiency of the CAN Bus network.
Conclusion
Testing CAN Bus resistance with a multimeter is a critical step in maintaining the functionality of the CAN Bus system. By following the steps outlined in this article, you can effectively measure resistance levels, identify potential issues, and troubleshoot any problems that may arise. Remember, a properly functioning CAN Bus network is essential for the smooth operation of modern vehicles and machinery.