How to Check Automotive Relays Before Replacing Them
As a professional content editor and experienced journalist, I have prepared the following article:
Introduction
Automotive relays are crucial components in a vehicle’s electrical system, responsible for controlling various functions like the headlights, fuel pump, and wipers. Before rushing to replace a faulty relay, it’s essential to perform some checks to ensure that it is indeed the culprit behind the issue. In this article, we will discuss how you can effectively check automotive relays before deciding to replace them.
Understanding Automotive Relays
To begin with, it’s important to have a basic understanding of how automotive relays work. Relays are essentially switches that are activated by an electrical signal. When the relay receives a signal, it closes the circuit and allows the flow of electricity to the component it controls. This makes relays critical for the proper functioning of various electrical systems in a vehicle.
Tools Required for Testing
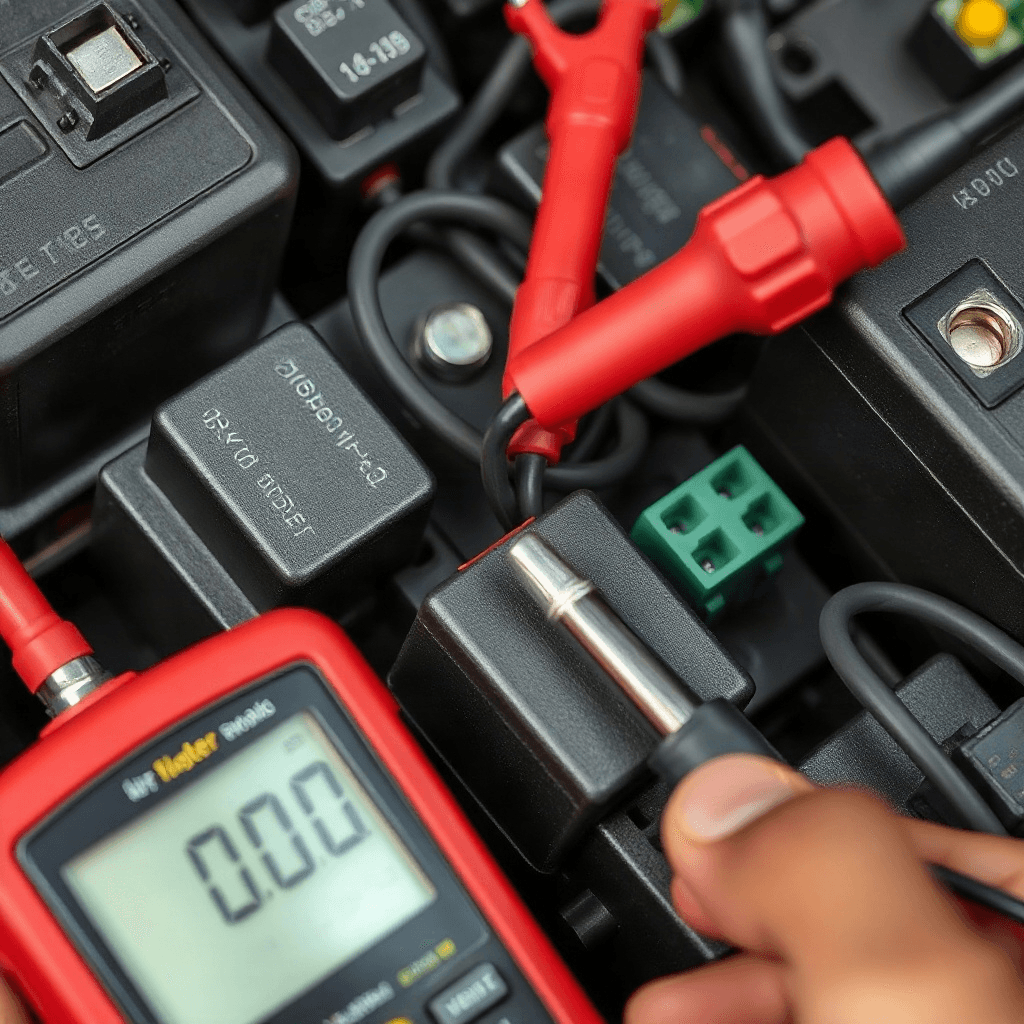
Before you start testing the relays, make sure you have the necessary tools on hand. A digital multimeter is an essential tool for checking the continuity and resistance of the relay. Additionally, a set of jumper wires can be handy for bypassing the relay to directly power the component it controls. Having a wiring diagram specific to your vehicle’s make and model is also helpful for identifying the relay’s connections.
Testing for Continuity
One of the most common issues with automotive relays is a break in continuity, which can prevent the relay from functioning properly. To test for continuity, set your multimeter to the continuity setting and place the probes on the relay’s terminals. If you hear a beep, it indicates that there is continuity, meaning the relay is functioning correctly. If there is no beep, it suggests a break in continuity and that the relay may need to be replaced.
Checking for Resistance
In addition to continuity, it’s essential to test the resistance of the relay’s coil. This can help determine whether the coil is receiving the correct amount of power to actuate the relay. To test for resistance, set your multimeter to the resistance setting and place the probes on the coil terminals. A resistance reading within the specified range in the vehicle’s service manual indicates that the coil is functioning correctly.
Bypassing the Relay
If you suspect that the relay is faulty but want to confirm it, you can bypass the relay to directly power the component it controls. Use jumper wires to connect the power source to the component, bypassing the relay. If the component functions properly when bypassing the relay, it confirms that the relay is faulty and needs to be replaced.
Conclusion
Before replacing automotive relays, it’s important to perform thorough checks to ensure that the relay is indeed the cause of the issue. By understanding how relays work, using the right tools for testing, and following the proper testing procedures, you can effectively diagnose relay problems in your vehicle. Remember, a faulty relay can lead to various electrical issues, so it’s crucial to address any problems promptly.