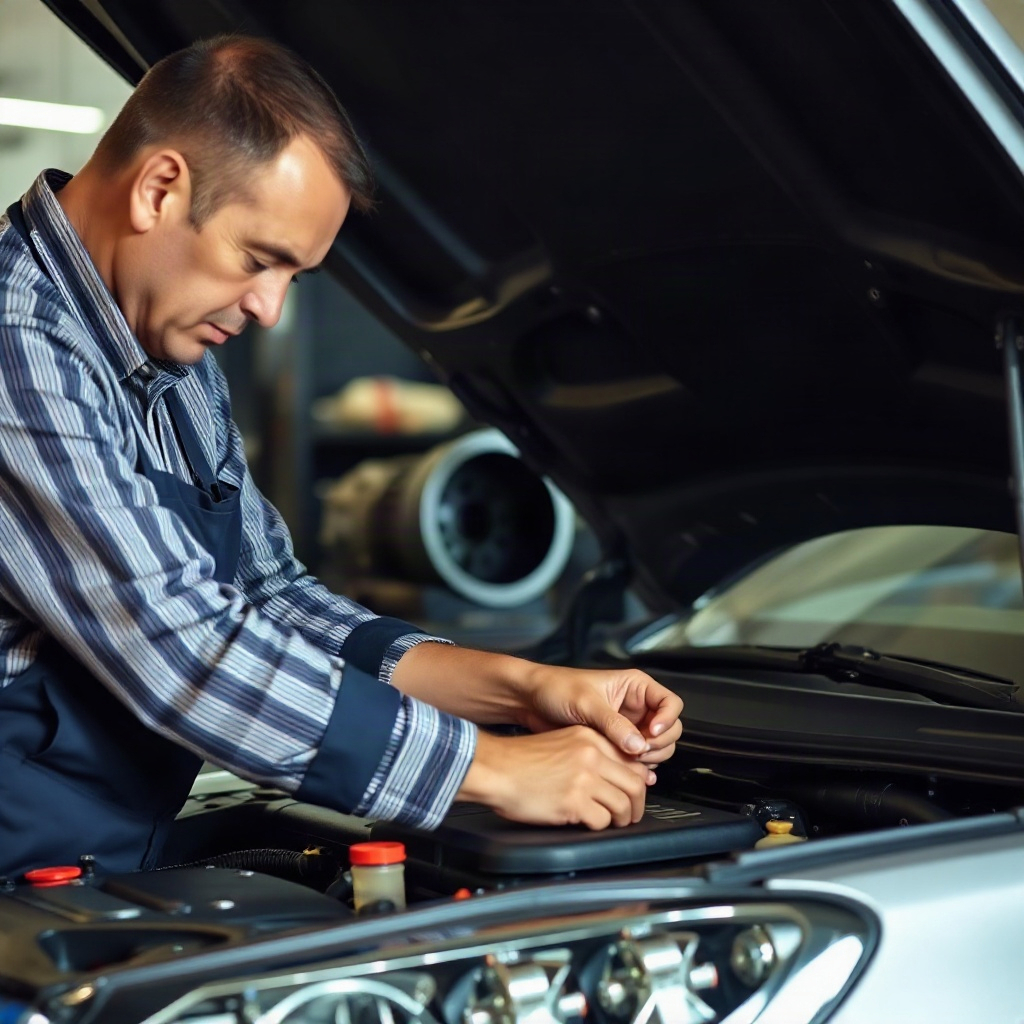
How to Fix a Coolant Leak
As a car owner, dealing with a coolant leak can be a frustrating and challenging issue. Whether you notice a puddle of coolant under your vehicle or your engine temperature starts to rise, it’s essential to address the problem promptly to prevent any further damage. In this expert guide, we will walk you through the steps on how to fix a coolant leak like a pro.
Understanding the Coolant System
Before diving into the repair process, it’s crucial to have a basic understanding of how the coolant system works in your vehicle. The coolant, also known as antifreeze, circulates through the engine to regulate the temperature and prevent it from overheating. The system consists of various components such as the radiator, water pump, hoses, and thermostat, all working together to keep your engine running smoothly.
Identifying the Leak Source
The first step in fixing a coolant leak is to identify the source of the problem. Common areas where leaks occur include the radiator, hose connections, water pump, and the heater core. Inspect these areas carefully for any signs of leakage, such as visible coolant stains, dripping fluid, or a sweet smell in the engine bay. Once you locate the source, you can proceed with the necessary repairs.
Repairing Small Leaks
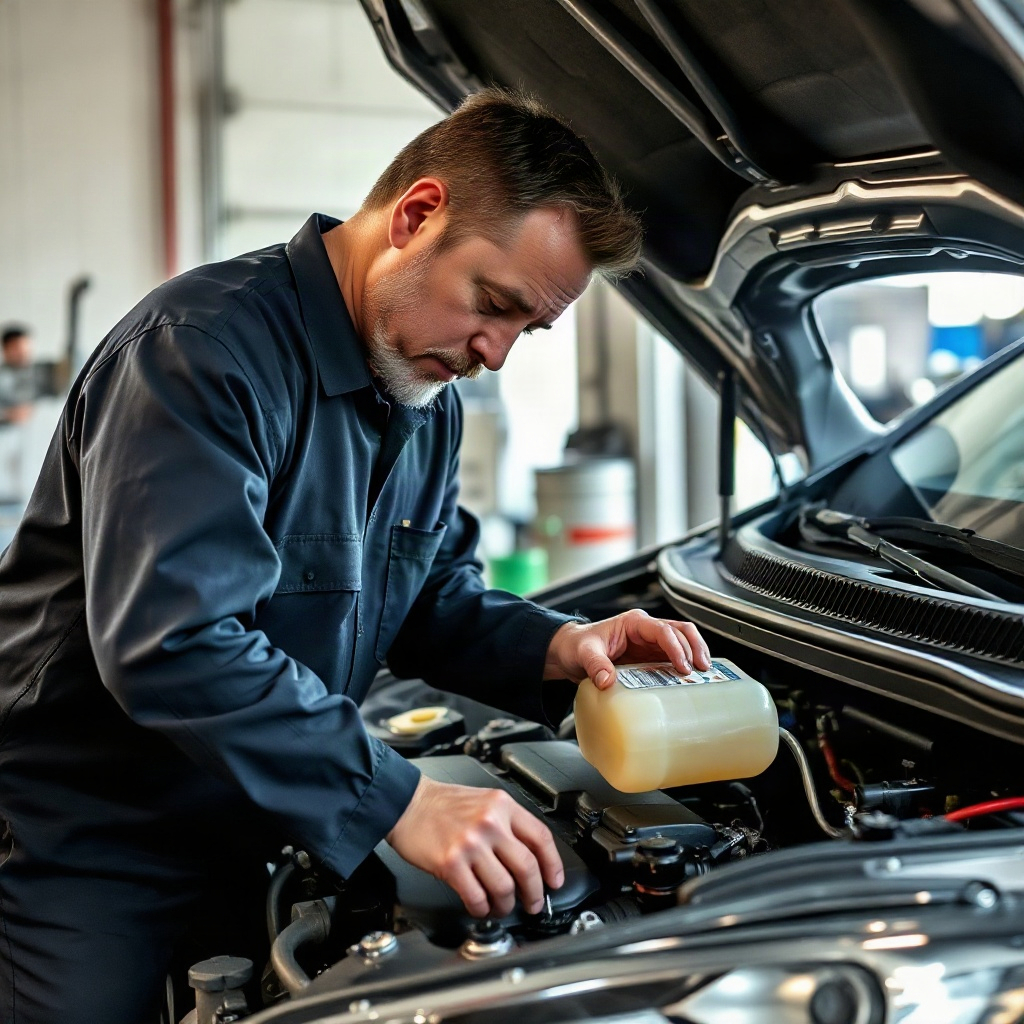
For minor coolant leaks, such as a small crack in a hose or a loose connection, you can often fix the issue yourself. Start by draining the coolant from the system and removing the damaged component. Depending on the severity of the leak, you may be able to patch the area with a sealant or replace the part altogether. Make sure to follow the manufacturer’s guidelines and use the correct coolant mixture when refilling the system.
Replacing Faulty Components
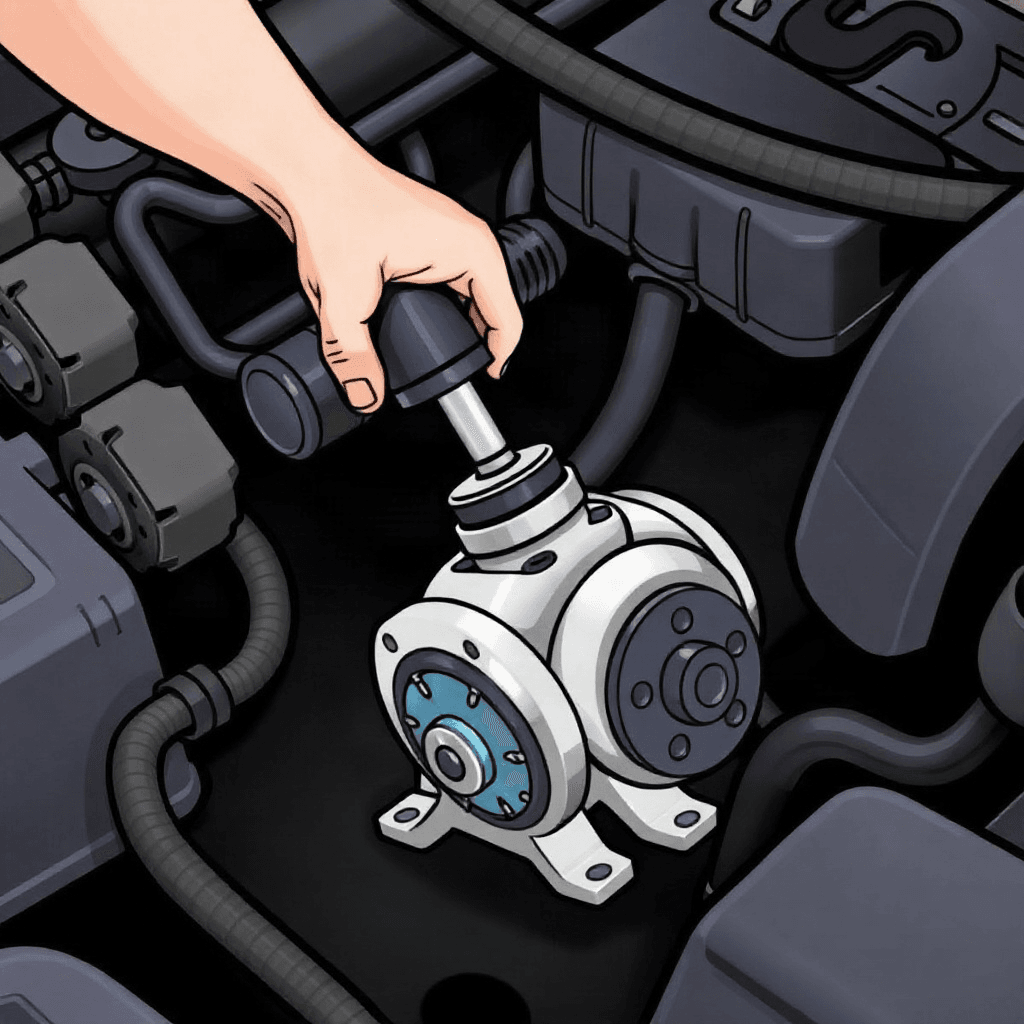
In cases where the leak is coming from a faulty component like the radiator or water pump, it’s best to replace the part to ensure a long-lasting repair. Before starting the replacement process, make sure to gather all the necessary tools and parts. Follow a step-by-step guide or consult a repair manual to assist you with the installation. Once the new component is in place, refill the coolant system and check for any leaks before driving the vehicle.
Performing a Pressure Test
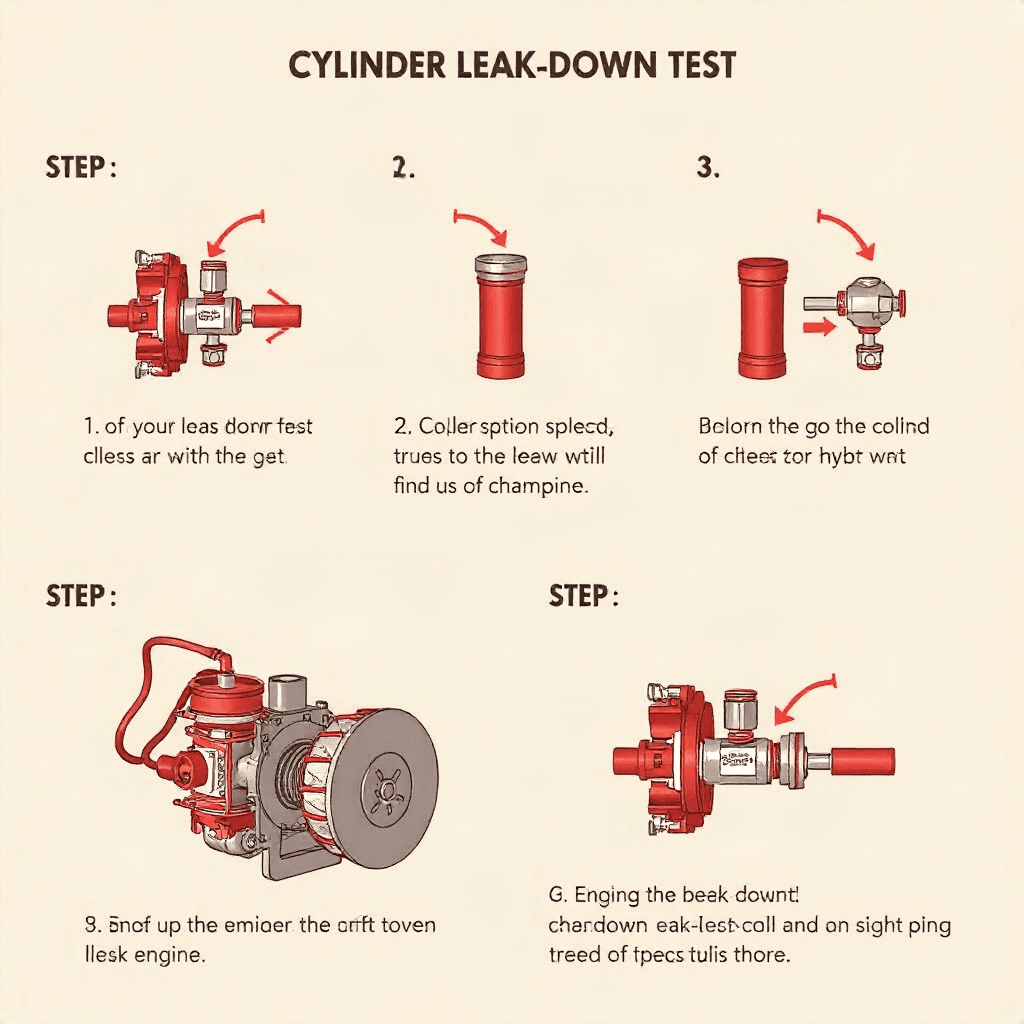
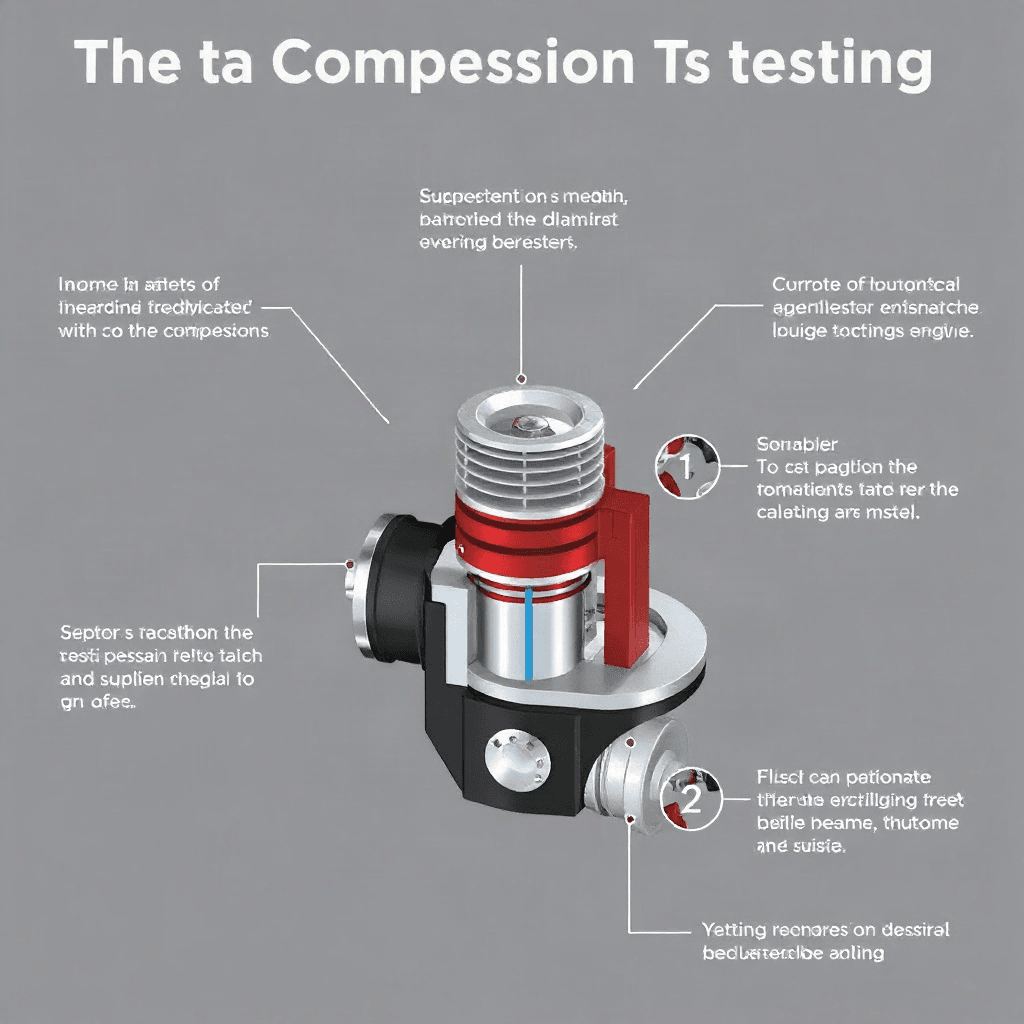
After addressing the coolant leak, it’s advisable to perform a pressure test on the system to ensure that the repair was successful. A pressure tester can help you identify any remaining leaks or weak spots in the system by simulating the operating conditions of the engine. If the test reveals any issues, make the necessary adjustments or repairs before using the vehicle again.
Regular Maintenance and Inspections
Prevention is key when it comes to avoiding coolant leaks in the future. Keep up with regular maintenance tasks like flushing the coolant system, inspecting hoses for wear and tear, and checking the radiator for any debris buildup. By staying proactive and addressing any potential issues early on, you can prevent costly repairs down the line and keep your vehicle running smoothly.