How to Replace a Starter and Verify the Charging System
Replacing a faulty starter in your car can be a daunting task, but with the right tools and knowledge, you can easily tackle this job. In addition to replacing the starter, it’s also important to verify the charging system to ensure that your car’s battery is in good condition. In this guide, we will walk you through the steps of how to replace a starter and verify the charging system.
Removing the Old Starter
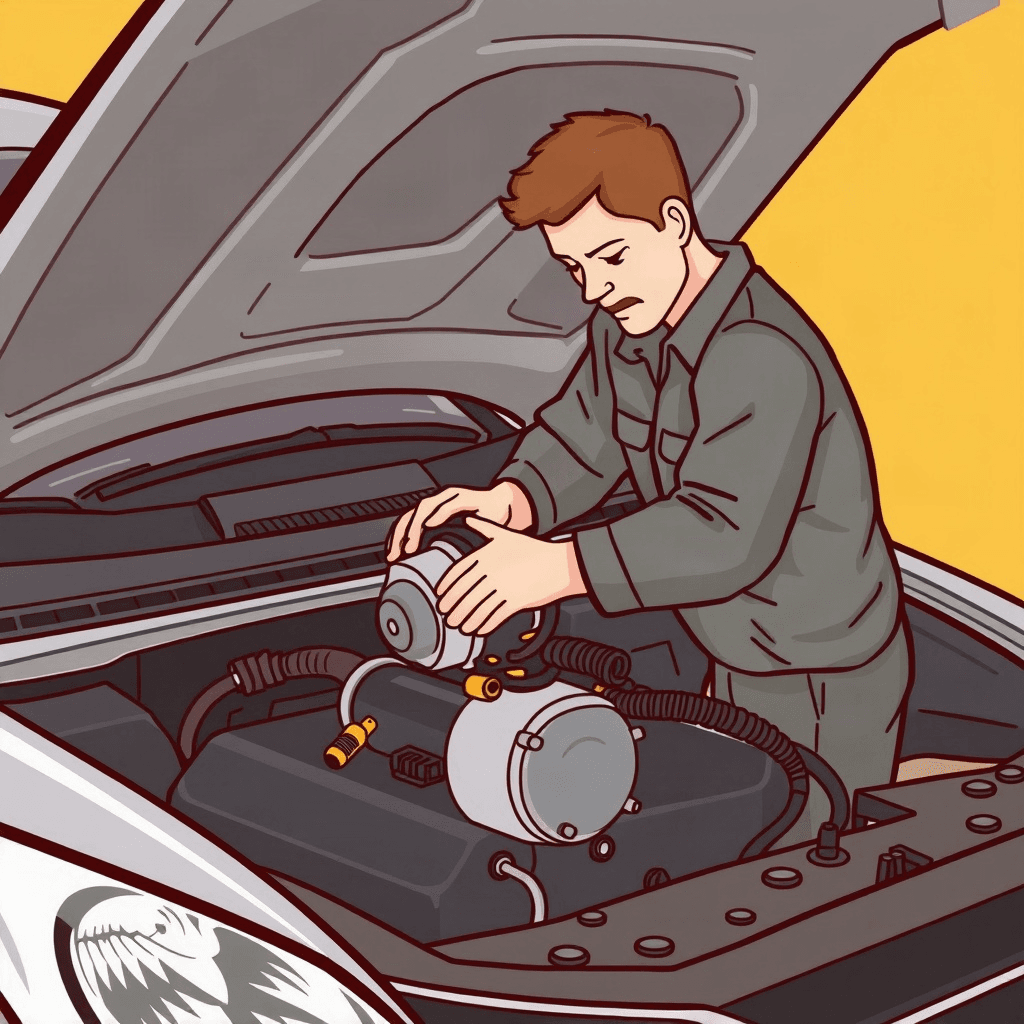
The first step in replacing a starter is to disconnect the battery to avoid any electrical mishaps. Next, locate the starter under the hood of your car and disconnect the wiring harness and mounting bolts. Carefully remove the old starter from the vehicle.
Installing the New Starter
Once the old starter is removed, it’s time to install the new one. Carefully position the new starter in place and secure it with the mounting bolts. Reconnect the wiring harness and double-check all connections to ensure everything is properly secured.
Testing the Starter
Before putting everything back together, test the new starter to ensure it’s working correctly. Reconnect the battery and attempt to start the car. If the starter engages and the engine starts smoothly, then you have successfully installed the new starter.
Checking the Charging System
After replacing the starter, it’s important to verify the charging system to ensure the battery is charging properly. Use a multimeter to check the voltage across the battery terminals while the engine is running. A healthy charging system should read between 13.5-14.5 volts.
Troubleshooting
If you encounter any issues during the replacement process or while testing the starter and charging system, refer to your car’s manual for troubleshooting tips. It’s important to address any problems promptly to avoid further damage to your vehicle.
Final Checks
Once you have successfully replaced the starter and verified the charging system, conduct a final inspection to ensure everything is in place and working correctly. Double-check all connections, secure any loose bolts, and make sure the battery is properly secured.