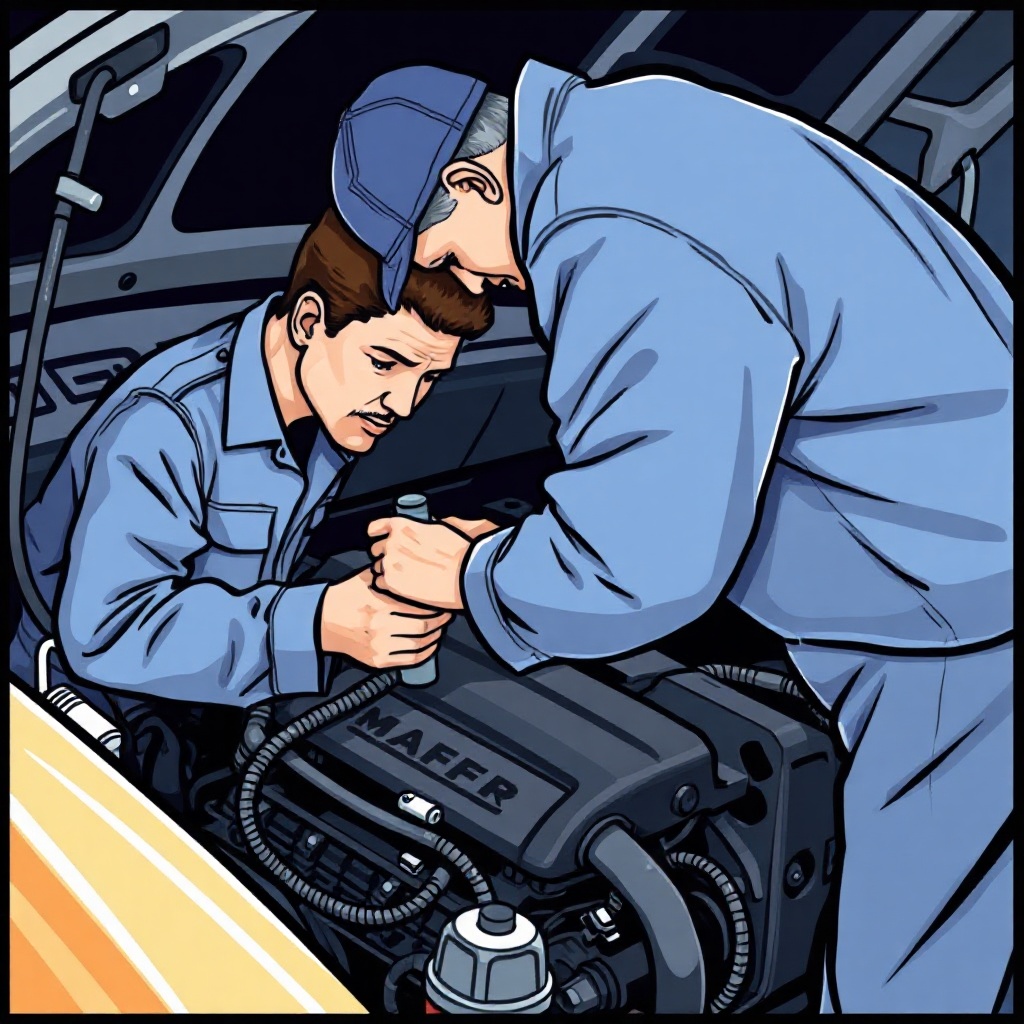
How to Inspect Engine Wiring and Grounds Before Replacing a Sensor
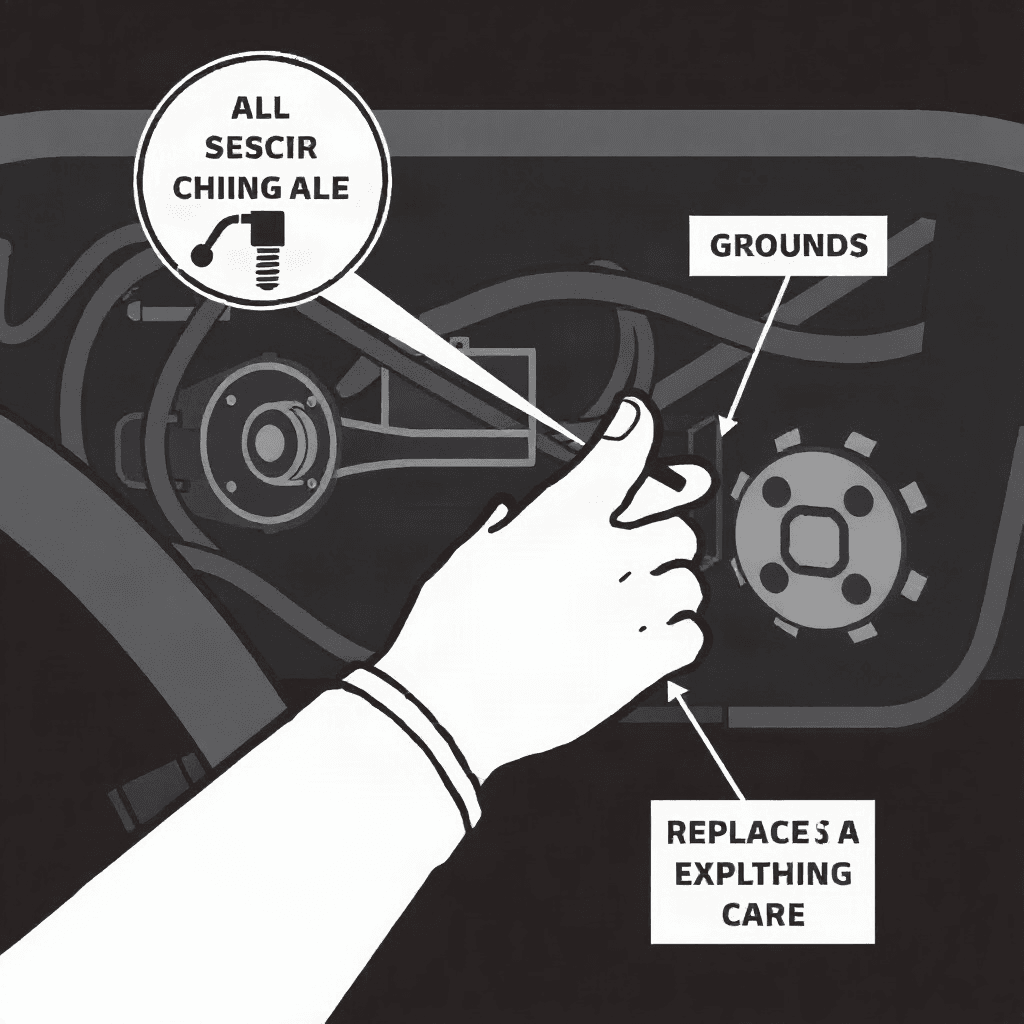
Engine sensors play a crucial role in the proper functioning of a vehicle’s engine. However, before replacing a sensor, it is important to inspect the engine wiring and grounds to ensure that the issue is not caused by a faulty connection. In this blog post, we will discuss how to properly inspect engine wiring and grounds before replacing a sensor.
Understanding Engine Wiring
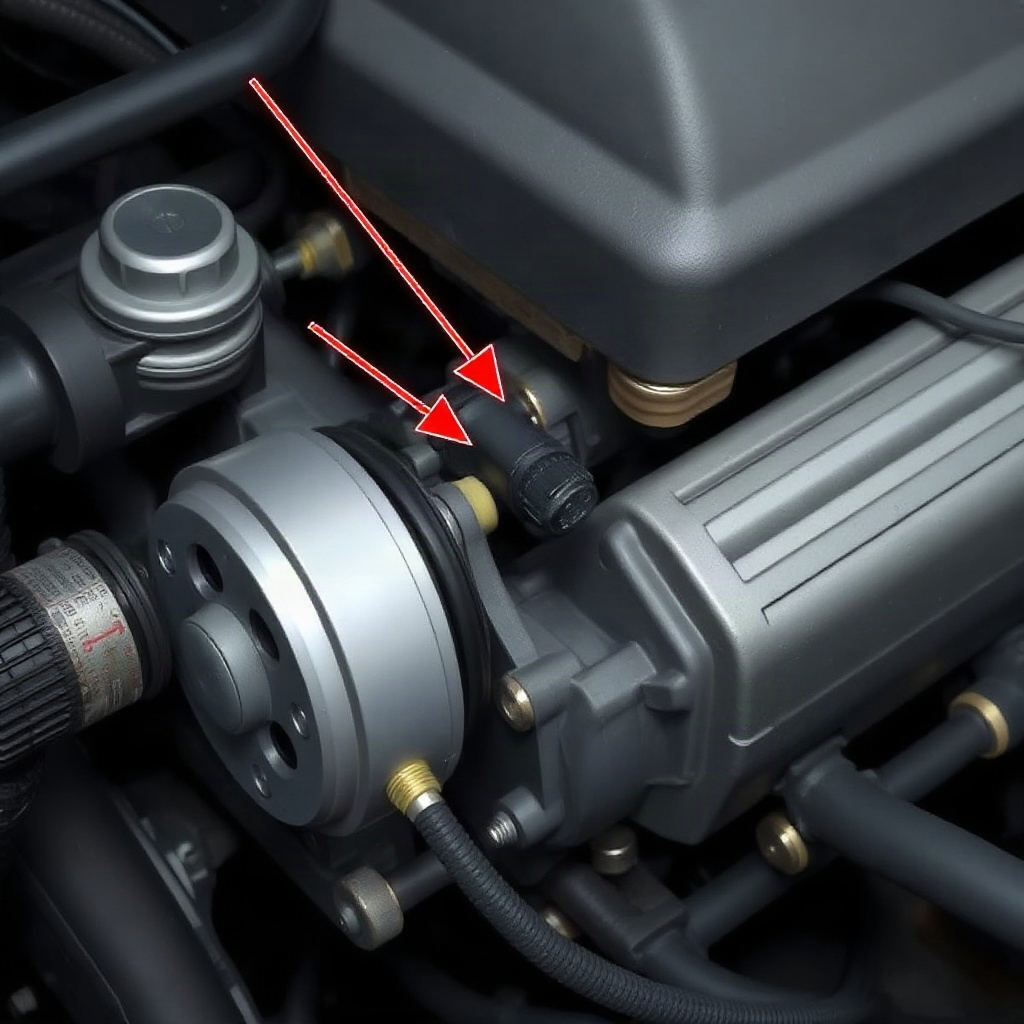
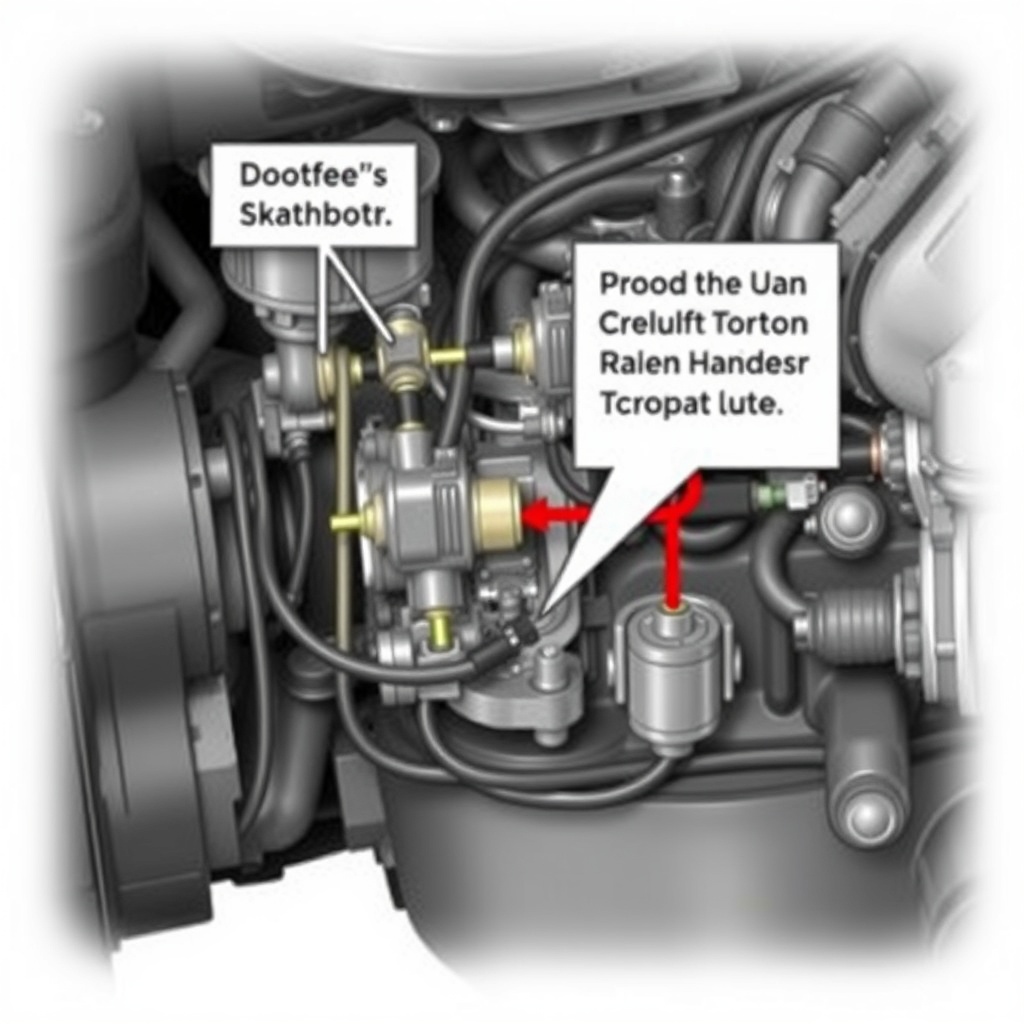
Engine wiring refers to the electrical connections that power various components within the engine. It is essential for transmitting signals between the sensors, actuators, and the engine control unit. When there is a fault in the wiring, it can lead to miscommunications and malfunctions in the system. To inspect the engine wiring, start by visually checking for any signs of wear, fraying, or damage.
Checking the Grounds
Grounds are the negative side of the electrical system, providing a return path for the current to flow back to the battery. A poor ground connection can cause electrical issues, including sensor failures. To check the grounds, use a multimeter to measure the resistance between the ground point and the battery negative terminal. A high resistance reading indicates a poor ground connection that needs to be addressed.
Inspecting Connectors and Terminals
Connectors and terminals play a critical role in ensuring a secure and reliable connection between the wiring harness and the sensors. Inspect each connector for signs of corrosion, bent pins, or loose connections. Clean the connectors using electrical contact cleaner and ensure a snug fit when reconnecting them.
Testing for Continuity
To verify the integrity of the wiring, perform a continuity test using a multimeter. Disconnect the sensor from the harness and place the probes on each end of the wire. A continuous beep indicates that the wire is not broken. Repeat this test for each wire in the harness to identify any potential issues.
Voltage Drop Testing
Voltage drop testing is essential for identifying high resistance points in the wiring that can affect sensor performance. Connect the multimeter between the sensor power supply and ground while the engine is running. A voltage drop of more than 0.2 volts indicates a problem in the wiring that needs to be addressed.
Final Checks and Recommendations
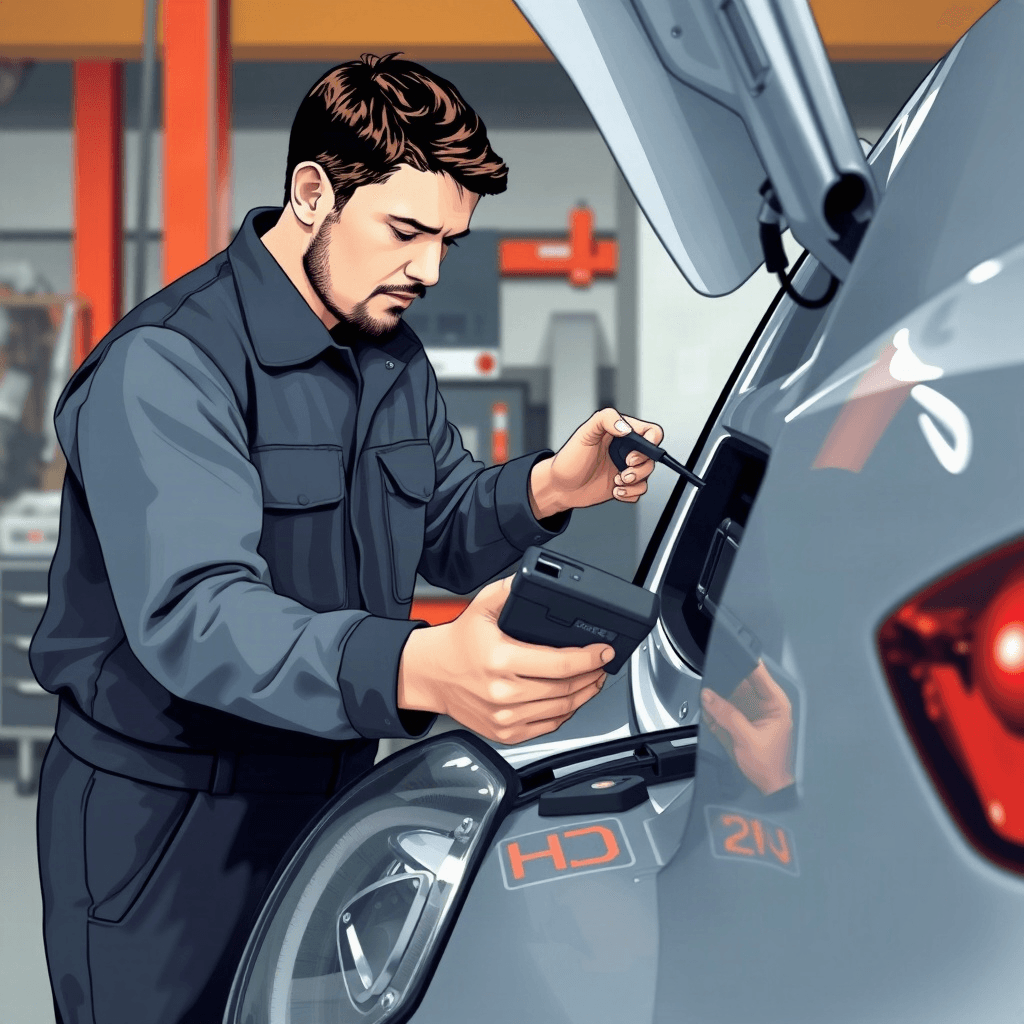
After inspecting the engine wiring and grounds, reconnect the sensor and perform a test drive to ensure that the issue has been resolved. If the problem persists, consider consulting a professional mechanic to diagnose and repair the electrical system. Regularly inspecting the engine wiring and grounds can help prevent sensor failures and ensure the smooth operation of your vehicle.