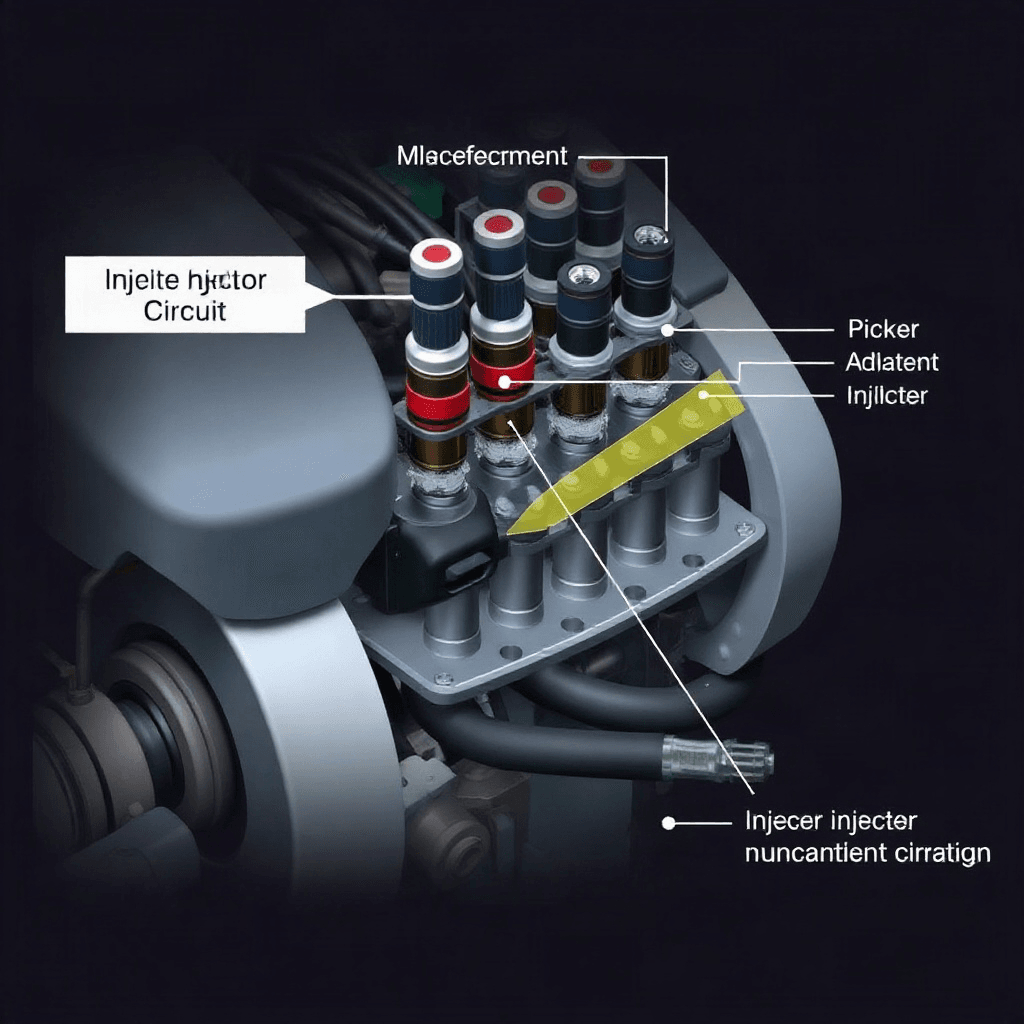
How to Test a Manifold Absolute Pressure Sensor With a Hand Vacuum Pump
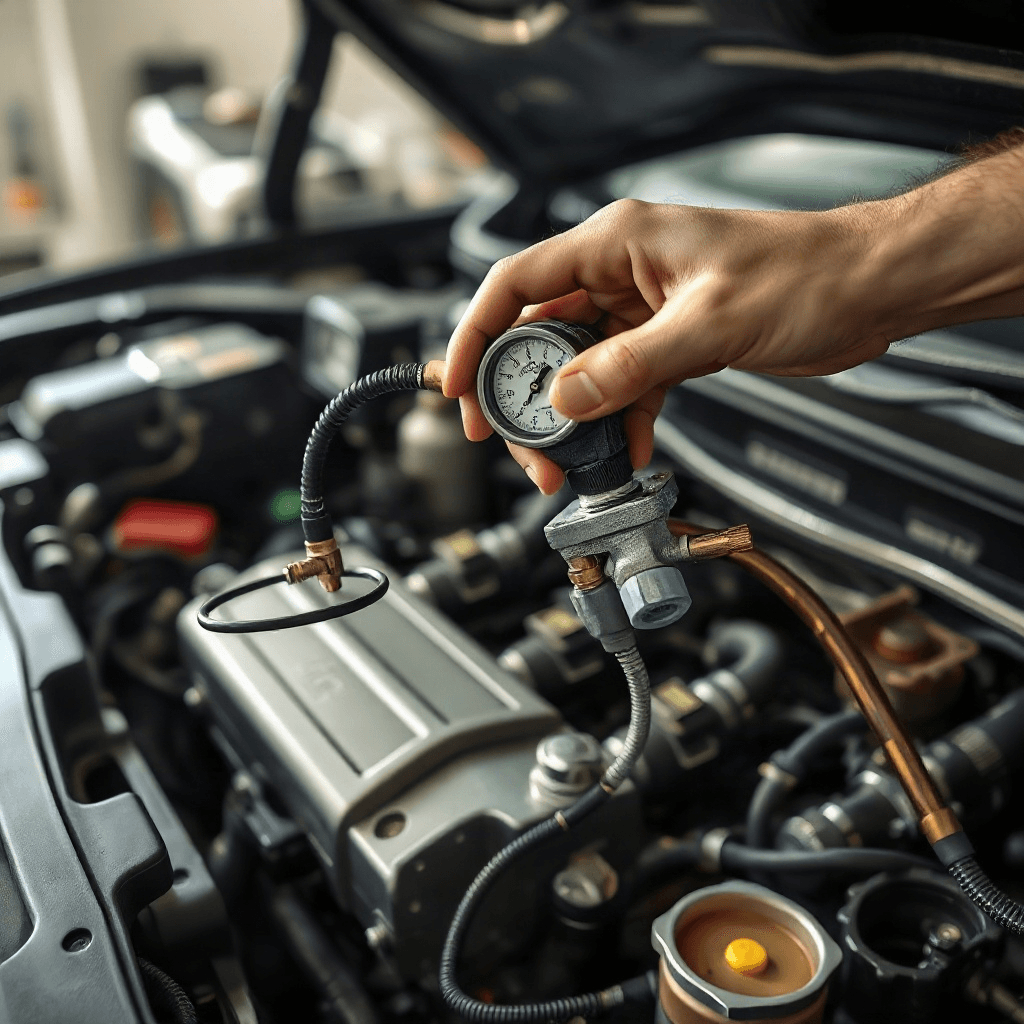
Testing a manifold absolute pressure sensor, commonly known as a MAP sensor, is a crucial step in automotive diagnostics. As an essential component of an engine’s management system, the MAP sensor plays a vital role in determining the engine load and ensuring optimal performance. Utilizing a hand vacuum pump can provide an accurate and straightforward method to test this sensor. In this article, I will guide you through the process of examining a MAP sensor using a hand vacuum pump, highlighting the key steps and considerations to ensure a successful evaluation.
Understanding the Role of the MAP Sensor
The manifold absolute pressure sensor is pivotal in monitoring the pressure levels within the intake manifold and transmitting this data to the engine control unit (ECU). This information is crucial for calculating the appropriate air-fuel mixture and ensuring efficient combustion. If the MAP sensor fails or provides inaccurate readings, it can lead to poor engine performance, reduced fuel efficiency, and increased emissions. Therefore, understanding its function and testing it regularly can save you from costly repairs down the line.
Preparing for the Test
Before beginning the testing process, it is imperative to gather all necessary tools and equipment. A hand vacuum pump is essential, as it allows you to simulate various pressure conditions that the MAP sensor would typically encounter while the engine is running. Additionally, ensure you have a multimeter on hand to measure voltage outputs from the sensor. Safety is paramount, so make sure to work in a well-ventilated area and wear protective gear, such as gloves and safety glasses, to prevent any accidents during the testing process.
Conducting the Initial Sensor Inspection
Before connecting the hand vacuum pump, it is wise to visually inspect the MAP sensor and its surrounding components. Look for any signs of physical damage, corrosion, or loose connections that might affect the sensor’s performance. Additionally, check the vacuum lines for cracks or leaks, as these can lead to inaccurate readings. If any issues are detected during this initial inspection, address them before proceeding with the actual testing.
Testing the Sensor with a Hand Vacuum Pump
To begin the test, disconnect the MAP sensor from the intake manifold and attach the hand vacuum pump to the sensor’s vacuum port. Gradually apply vacuum using the pump and observe the sensor’s voltage output with the multimeter. The voltage should change proportionally with the applied vacuum, indicating that the sensor is responding correctly. Refer to your vehicle’s service manual for the specific voltage range that corresponds to different pressure levels, as this can vary between models.
Interpreting the Test Results
Once the test is complete, compare the voltage readings to the specifications provided in the service manual. If the readings fall within the expected range, the MAP sensor is functioning correctly. However, if the voltage output remains constant or deviates significantly from the expected values, it may indicate a faulty sensor. In such cases, replacing the sensor is often the most effective solution. It is also advisable to check for any related diagnostic trouble codes using an OBD-II scanner to gain further insight into potential issues.
Final Considerations and Next Steps
After completing the test, ensure that all components are properly reconnected and that there are no vacuum leaks. Regular testing of the MAP sensor can prevent performance issues and extend the lifespan of your vehicle’s engine. If you encounter persistent problems, consulting a professional mechanic might be necessary. Additionally, for more advanced diagnostic techniques, consider exploring [other automotive diagnostic tools and methods] to enhance your understanding and proficiency in vehicle maintenance.