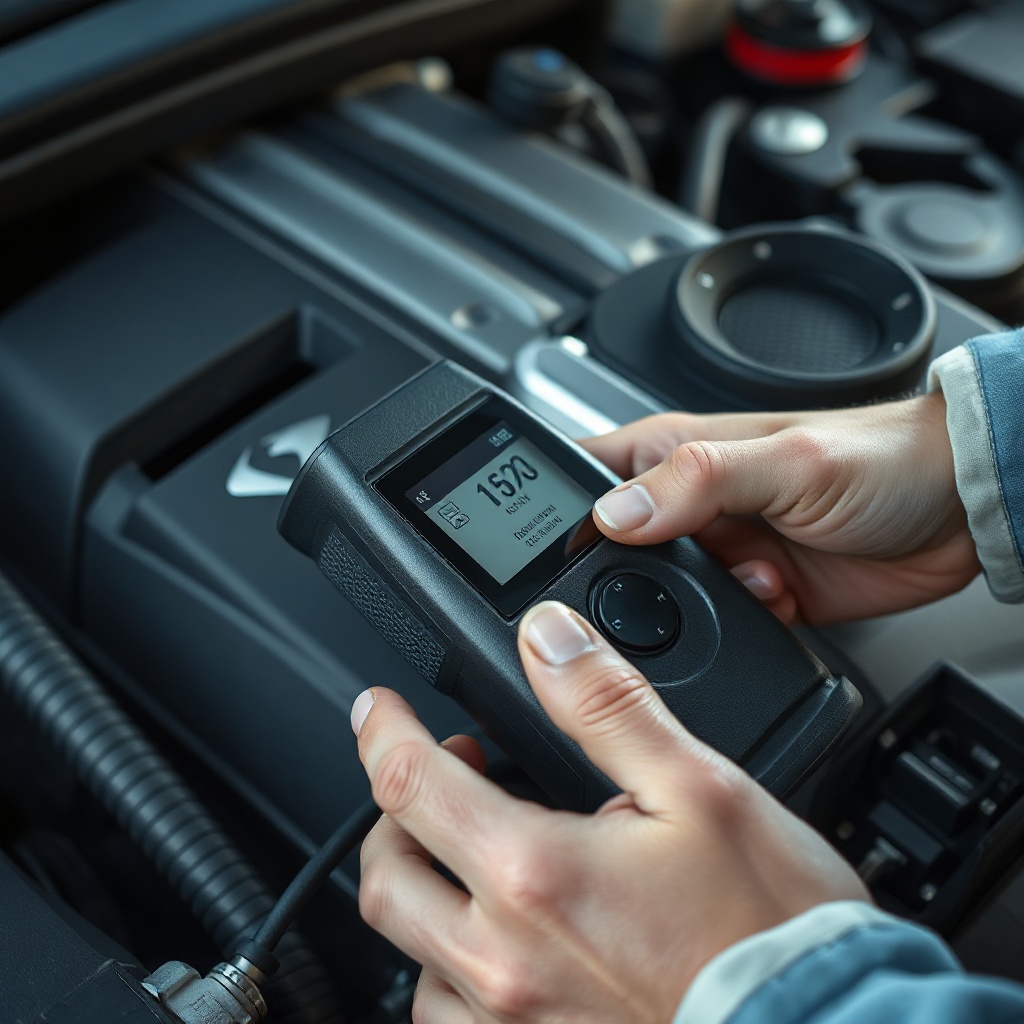
How to Replace a Serpentine Belt and Inspect the Tensioner and Pulleys
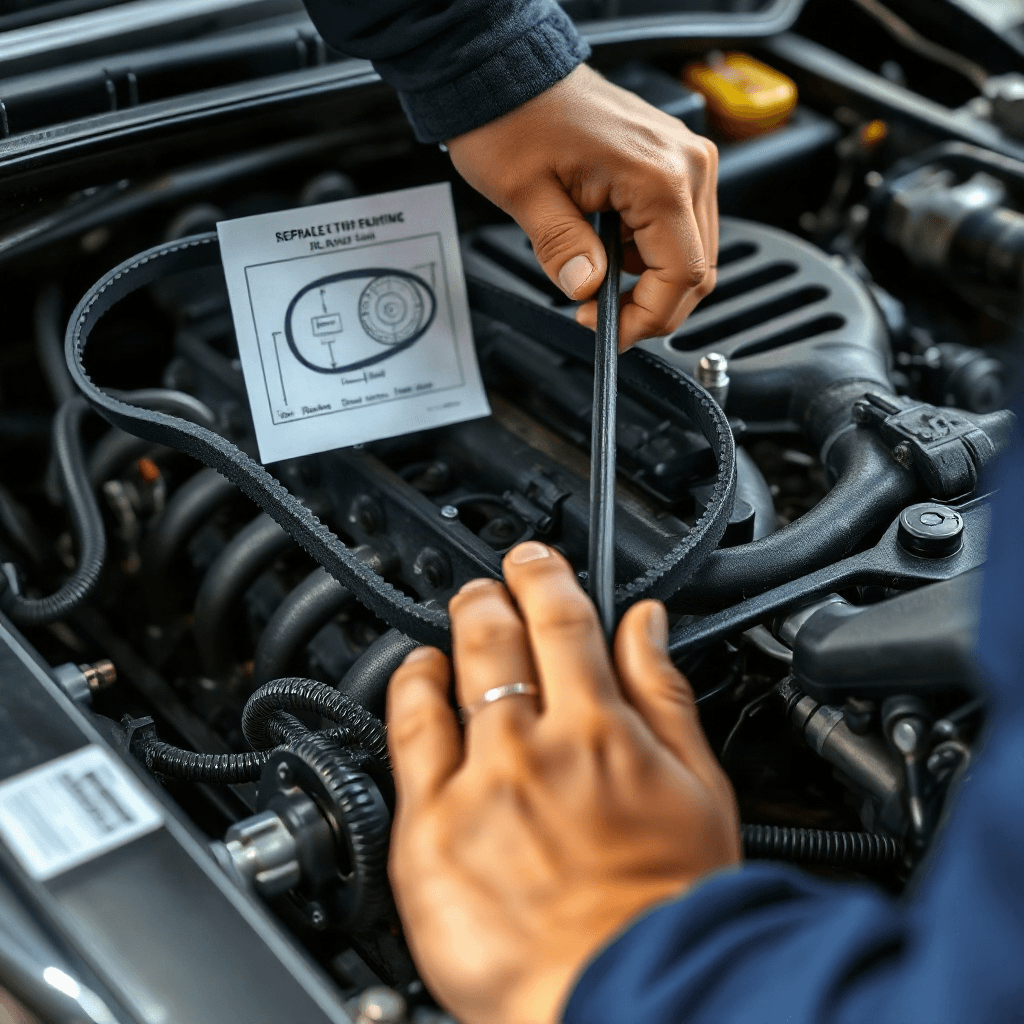
Replacing a serpentine belt is a common maintenance task for many vehicle owners, but it requires a clear understanding of the components involved. This guide aims to provide a comprehensive overview of the process, along with inspecting the tensioner and pulleys. A serpentine belt, also known as a drive belt, plays a crucial role in powering various engine accessories. Over time, this belt can wear out, necessitating its replacement. Understanding the procedure and the associated components like the tensioner and pulleys will ensure the longevity and efficiency of your vehicle’s engine system.
Understanding the Importance of the Serpentine Belt
The serpentine belt is a critical component in the vehicle’s engine, responsible for driving several accessories such as the alternator, power steering pump, water pump, and air conditioning compressor. Its efficient functioning ensures these accessories operate smoothly, thus maintaining the overall performance and safety of the vehicle. Over time, due to constant exposure to heat and friction, the belt may develop cracks, frays, or become glazed, signaling the need for replacement. Regular inspections can help detect these signs early, preventing potential breakdowns. Furthermore, an understanding of how the serpentine belt interacts with other engine components highlights its importance in the vehicle’s operational ecosystem.
Tools and Preparation for Replacement
Before starting the replacement process, gathering the necessary tools and preparing adequately is crucial. Essential tools include a ratchet or serpentine belt tool, sockets, and a new serpentine belt specifically designed for your vehicle’s make and model. Additionally, having a flashlight and a diagram of the belt routing will be beneficial. Preparation involves ensuring the vehicle is parked on a level surface, the engine is off, and it has cooled down sufficiently to avoid burns. Wearing safety gloves and goggles is recommended to protect against potential injuries. By organizing your tools and workspace beforehand, the replacement process becomes more efficient and less prone to errors.
Removing the Old Serpentine Belt
The removal of the old serpentine belt begins with locating the tensioner pulley, which maintains the proper tension on the belt. Using a ratchet or a serpentine belt tool, apply pressure to the tensioner to release the tension on the belt. Carefully slide the belt off the pulleys, noting the path it takes around each one, as this will aid in installing the new belt. If a belt routing diagram is available, it can serve as a useful reference during reinstallation. Inspect the removed belt for any signs of wear or damage that may have affected its performance. Understanding the condition of the old belt can provide insights into potential issues within the engine’s accessory system.
Inspecting the Tensioner and Pulleys
With the serpentine belt removed, it’s an opportune time to inspect the tensioner and pulleys. The tensioner should be checked for proper operation and any signs of wear, such as cracking or misalignment. A faulty tensioner can lead to improper belt tension, causing slippage or noise. Pulleys should be spun manually to check for smooth operation and any unusual sounds that may indicate bearing failure. Additionally, pulleys should be examined for alignment and wear patterns that could suggest an underlying problem. Regular inspection and maintenance of these components are vital to ensure the efficiency and reliability of the vehicle’s engine system.
Installing the New Serpentine Belt
Installing the new serpentine belt involves carefully routing it around the pulleys according to the diagram specific to the vehicle. Begin by wrapping the belt around the smallest pulley and progressively work your way around the larger ones, ensuring the belt seats properly in the grooves. Apply pressure to the tensioner to allow the belt to fit over the last pulley, then slowly release the tensioner to apply tension to the belt. Double-check the routing to ensure it follows the correct path. A properly installed belt should have the correct tension and alignment, ensuring it operates efficiently without slipping or causing premature wear.
Final Checks and Maintenance Tips
After installing the new serpentine belt, perform a thorough check to ensure everything is in place and functioning correctly. Start the engine and observe the belt’s operation, listening for any unusual noises that might indicate misalignment or improper tension. It’s advisable to periodically check the belt and related components as part of regular vehicle maintenance. Keeping a record of when the belt was replaced can help in scheduling future inspections. Additionally, consulting the vehicle’s manual for manufacturer recommendations on belt replacement intervals will ensure you maintain optimal engine performance.