How to Record a Full-Vehicle Scan Before Clearing Network Codes
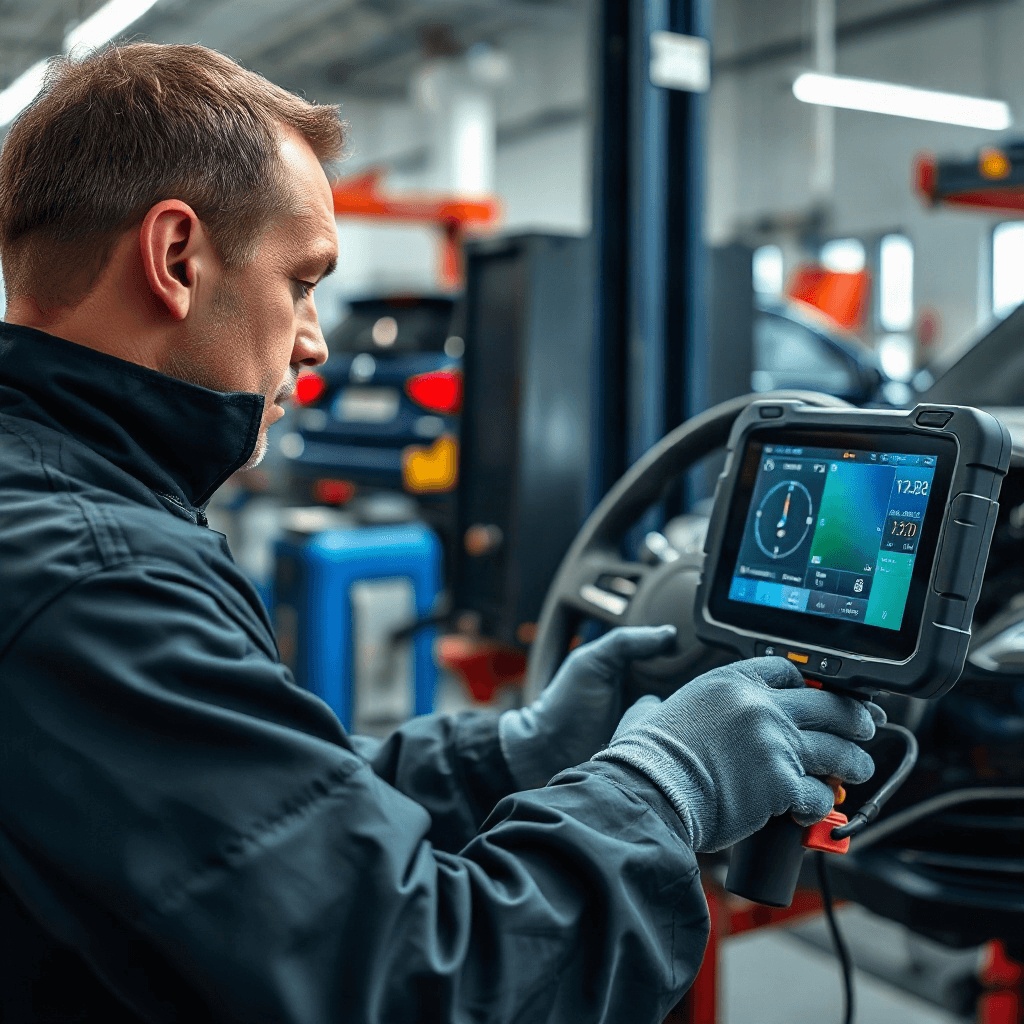
In the ever-evolving landscape of automotive technology, ensuring the integrity and functionality of a vehicle’s electronic systems is paramount. Before you embark on the process of clearing network codes, recording a full-vehicle scan is an essential step that cannot be overlooked. This practice not only safeguards your diagnostic efforts but also facilitates a comprehensive understanding of the vehicle’s current state, enabling more accurate troubleshooting. By documenting a full-vehicle scan, you gain valuable insights and establish a baseline for any future diagnostic endeavors. This article delves into the intricacies of recording full-vehicle scans, emphasizing the importance and methodology of this practice.
Understanding the Importance of Full-Vehicle Scans
Full-vehicle scans serve as a diagnostic cornerstone, allowing you to capture a snapshot of a vehicle’s electronic health. By undertaking this step, you create a digital record of the vehicle’s current conditions, including any stored fault codes, parameters, and system statuses. This holistic view is crucial for assessing the interplay between various electronic systems, which can often be interdependent. Moreover, by having a comprehensive record, you are better equipped to identify patterns or recurring issues, paving the way for more informed decision-making. A full-vehicle scan not only acts as a diagnostic safeguard but also enhances your credibility as a technician, as it reflects a meticulous and thorough approach.
Tools and Equipment Needed for Accurate Scanning
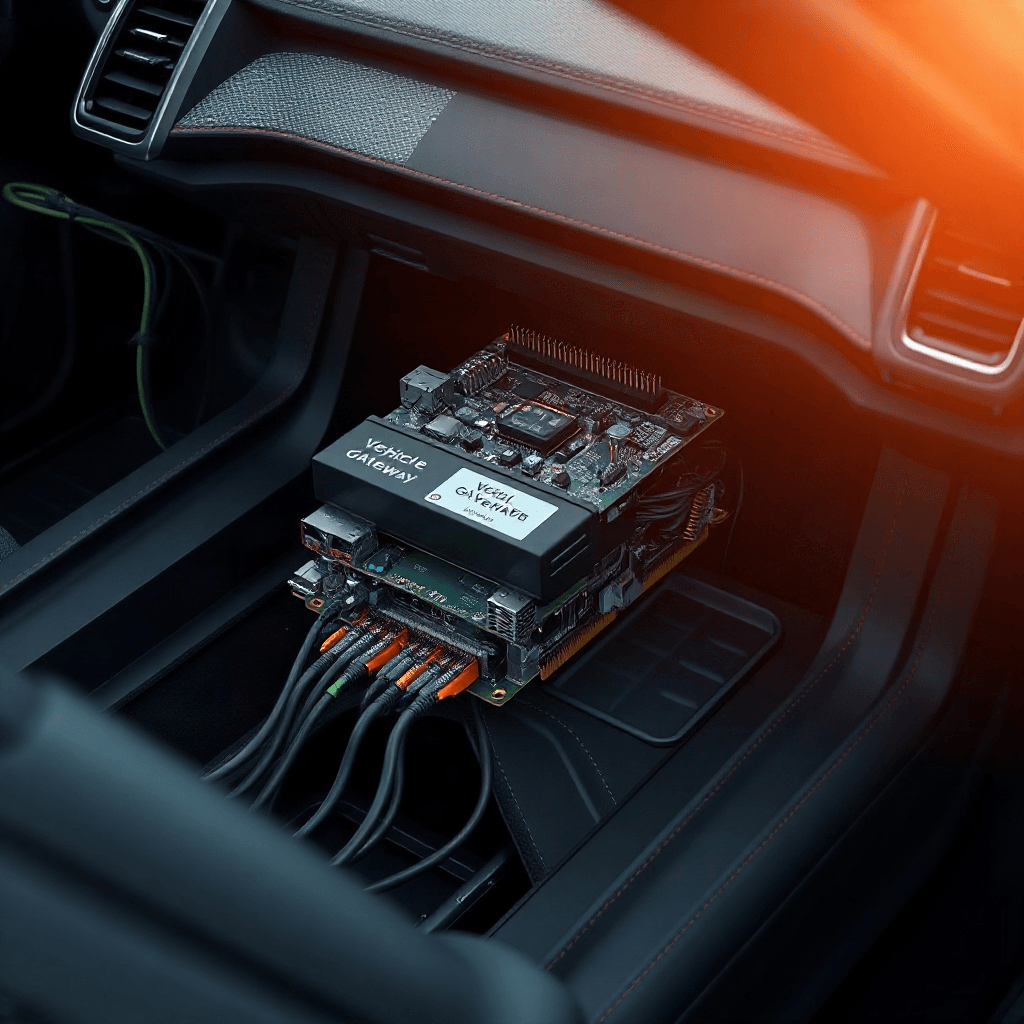
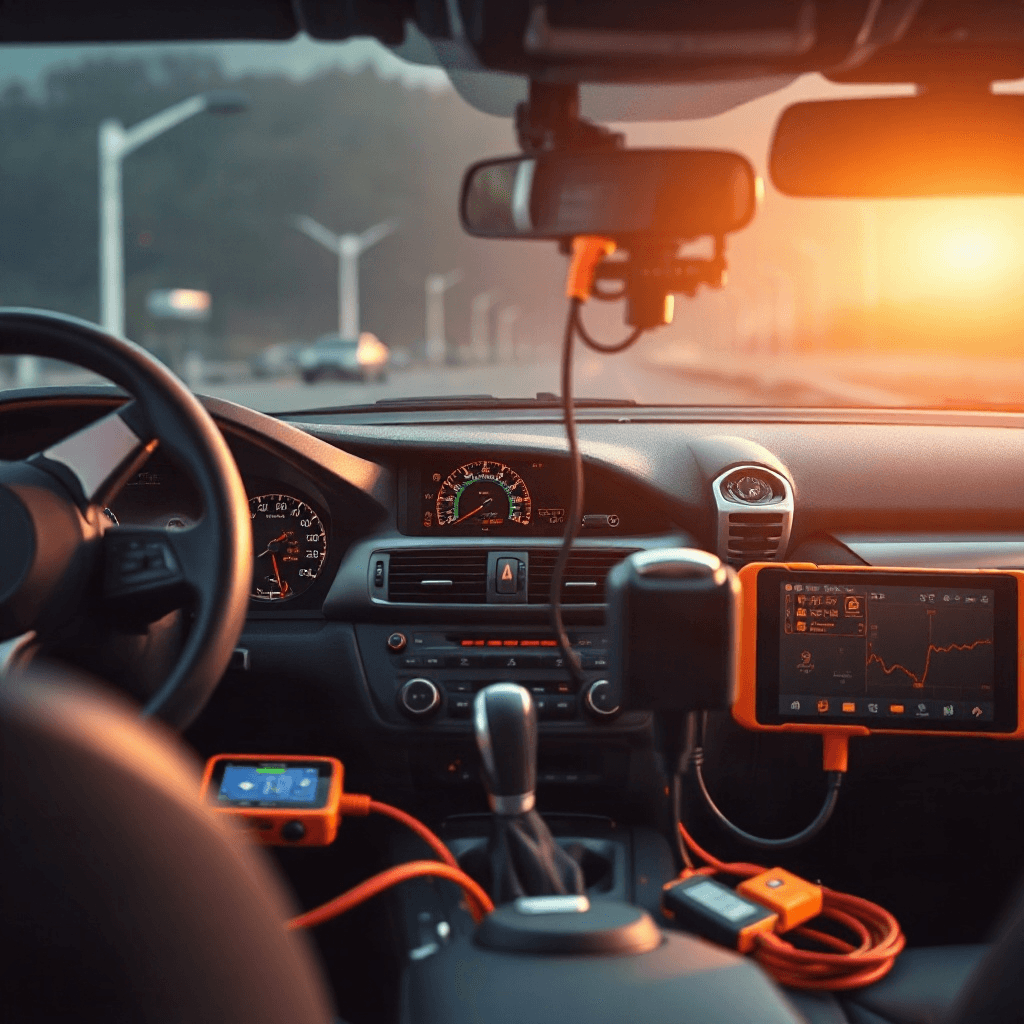
To execute a successful full-vehicle scan, you must equip yourself with the right tools and technology. Modern vehicles are equipped with an array of electronic control units (ECUs) that require sophisticated diagnostic equipment to interact with effectively. A reliable OBD-II scanner or a more advanced diagnostic tool is essential to access the network codes and parameters of the vehicle. Additionally, ensuring that your diagnostic software is up to date is crucial, as manufacturers frequently release updates and patches that address new issues or add functionality. Investing in quality equipment not only streamlines the scanning process but also enhances the accuracy and reliability of your findings.
Step-by-Step Guide to Conducting a Full-Vehicle Scan
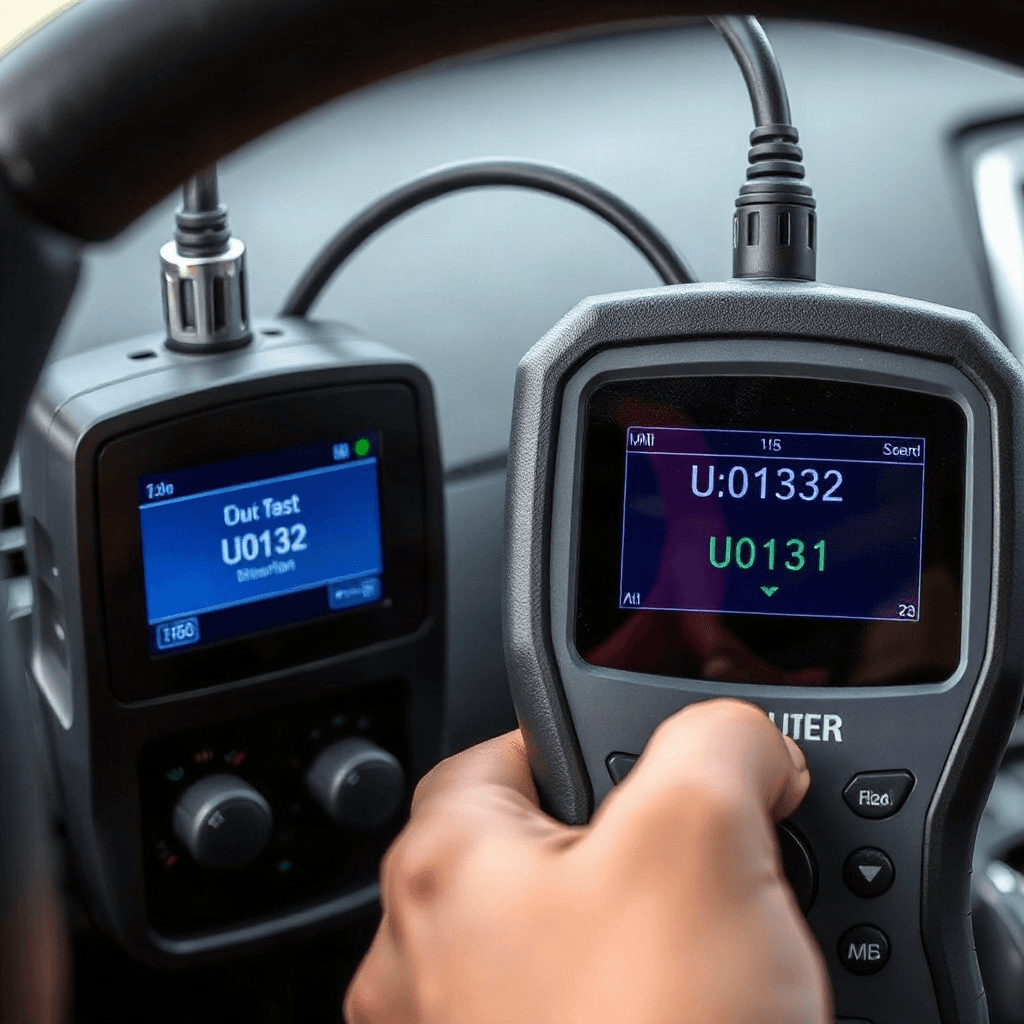
Conducting a full-vehicle scan is a systematic process that requires attention to detail and precision. Begin by connecting your diagnostic tool to the vehicle’s OBD-II port, typically located under the dashboard. Once connected, initiate the diagnostic software and select the full-vehicle scan option. Allow the software to communicate with all the ECUs, capturing data from each system. This process may take several minutes, depending on the vehicle’s complexity. During the scan, ensure that the vehicle remains stationary and that the ignition is in the ‘On’ position. Upon completion, review the generated report, which will list any detected fault codes, system statuses, and other pertinent data. This comprehensive report forms the foundation for any subsequent diagnostic actions.
Interpreting Scan Results and Taking Action
Interpreting the results of a full-vehicle scan requires a keen understanding of automotive systems and diagnostic protocols. Fault codes, often represented by alphanumeric sequences, provide insights into potential issues within specific systems. However, it’s important to recognize that not all codes indicate a malfunction; some may be historical or pending, necessitating further investigation. Begin by addressing any active or severe fault codes, prioritizing those that impact safety or drivability. Utilize the diagnostic tool’s database or consult manufacturer-specific resources for detailed code explanations and recommended actions. By systematically addressing each issue, you mitigate the risk of overlooking critical faults, ensuring that the vehicle operates optimally.
Best Practices for Documentation and Record Keeping
Meticulous documentation is a hallmark of professional automotive diagnostics. After conducting a full-vehicle scan, it’s imperative to save and organize the results for future reference. Digital records should include the vehicle’s identification details, date of the scan, and a copy of the diagnostic report. Consider using software that allows for easy storage and retrieval of scan data, facilitating seamless access when needed. This practice not only aids in tracking the vehicle’s diagnostic history but also provides valuable insights when diagnosing recurring issues. By maintaining comprehensive records, you enhance your diagnostic capabilities and demonstrate professionalism to your clients.
The Role of Full-Vehicle Scans in Preventive Maintenance
Incorporating full-vehicle scans into regular maintenance routines can significantly enhance a vehicle’s longevity and performance. By routinely capturing and analyzing scan data, you can identify and address potential issues before they escalate into major problems. This proactive approach minimizes the likelihood of unexpected breakdowns and costly repairs, ultimately contributing to customer satisfaction and trust. Furthermore, by consistently utilizing full-vehicle scans, you reinforce the importance of preventive maintenance, encouraging vehicle owners to prioritize regular check-ups. This not only aligns with industry best practices but also positions you as a forward-thinking and customer-centric automotive professional.
As you refine your diagnostic practices, integrating full-vehicle scans into your workflow is an invaluable step that enhances both accuracy and reliability. By understanding the importance, utilizing the right tools, and adhering to best practices, you can maximize the efficacy of your diagnostic efforts, ensuring that vehicles remain in optimal condition.
[Link to related article: Understanding OBD-II Systems]