GM P0030: How to Test the Bank 1 Sensor 1 O2 Heater-Control Circuit
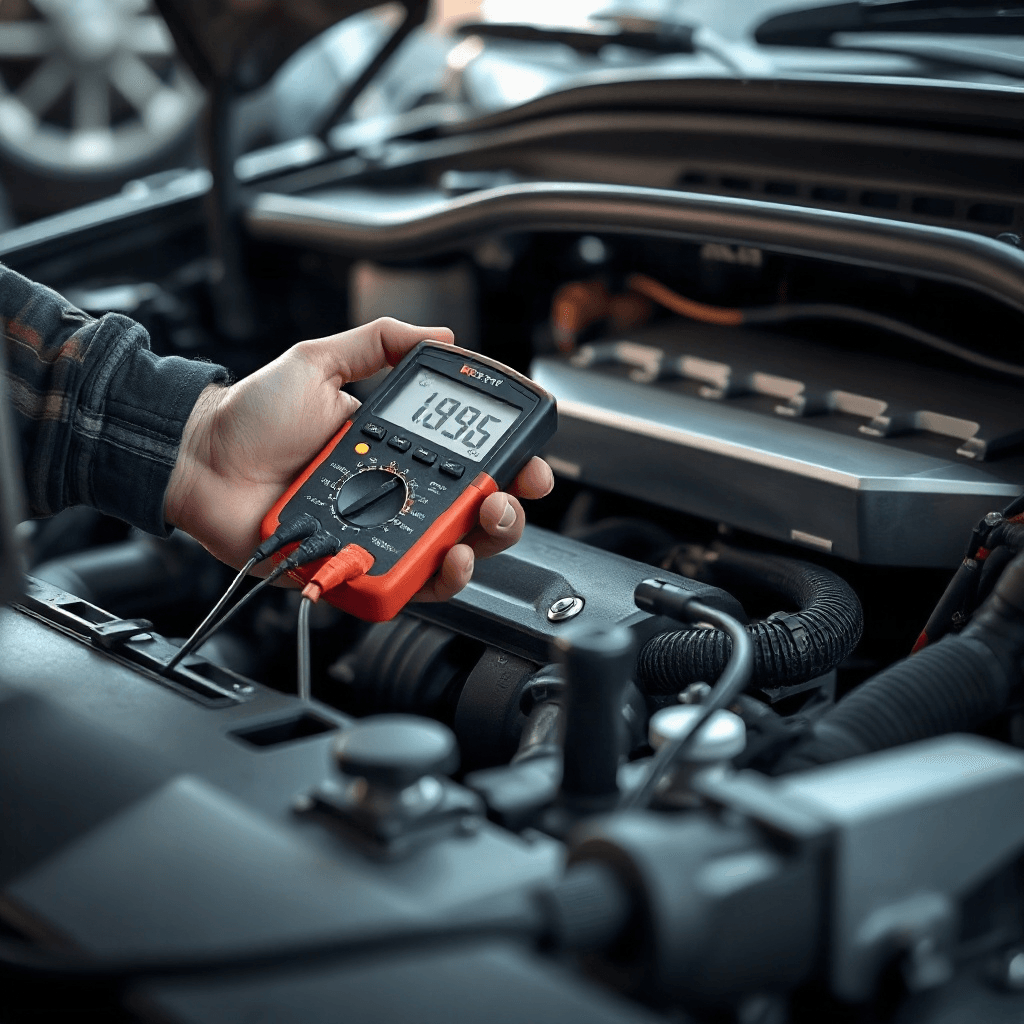
The GM P0030 error code is a common diagnostic trouble code that signifies an issue with the heater control circuit of the oxygen sensor located in Bank 1 Sensor 1 of your vehicle. This can be a daunting task to tackle, particularly if you are not familiar with automotive diagnostics. Understanding the problem’s origin and efficiently testing the circuit can save both time and money. This article will guide you through the steps to diagnose and resolve the issue, ensuring your vehicle returns to optimal performance.
Understanding the Role of the Oxygen Sensor
The oxygen sensor, often abbreviated as O2 sensor, is an integral component of modern automotive systems. This sensor measures the amount of oxygen in the exhaust gases, which helps determine whether the fuel mixture is rich or lean. Located in the exhaust manifold, the Bank 1 Sensor 1 oxygen sensor plays a critical role in optimizing engine performance and reducing emissions. The heater-control circuit within this sensor ensures that the sensor reaches its operating temperature quickly, which is vital for accurate readings immediately upon engine start. Without proper functioning of this circuit, the engine control module (ECM) cannot correctly adjust the air-fuel mixture, leading to inefficiencies and increased emissions.
Symptoms of a Malfunctioning Heater-Control Circuit
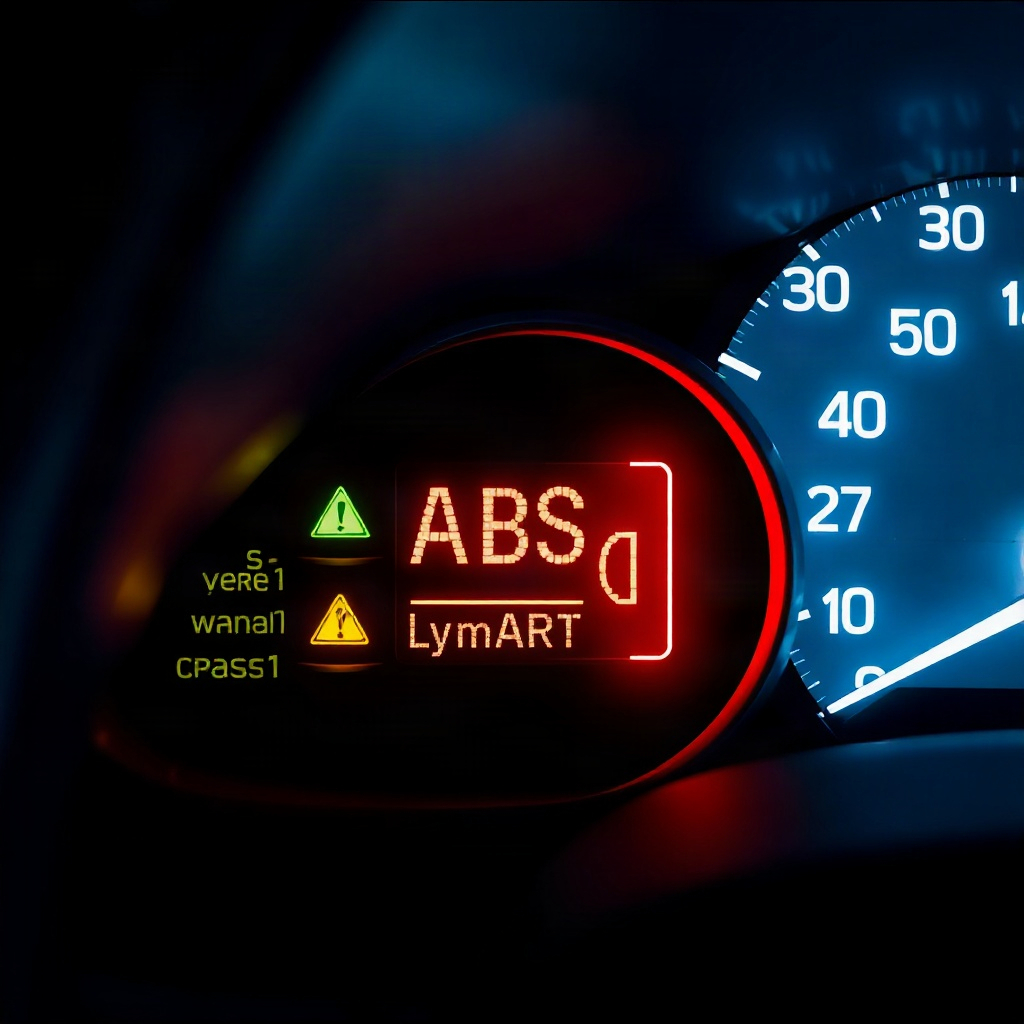
A malfunctioning heater-control circuit in the oxygen sensor often triggers several noticeable symptoms. The most obvious is the illumination of the check engine light on your dashboard, which will display the P0030 error code upon diagnostic scanning. Additionally, you may experience a decrease in fuel efficiency, as the sensor’s inaccurate readings lead to improper air-fuel mixture adjustments. Poor engine performance, particularly during engine warm-up, can also be a telltale sign. In some cases, the vehicle may exhibit increased exhaust emissions, failing emission tests. Understanding these symptoms can help you quickly identify the underlying issue and proceed with testing the circuit.
Tools and Equipment Needed for Testing
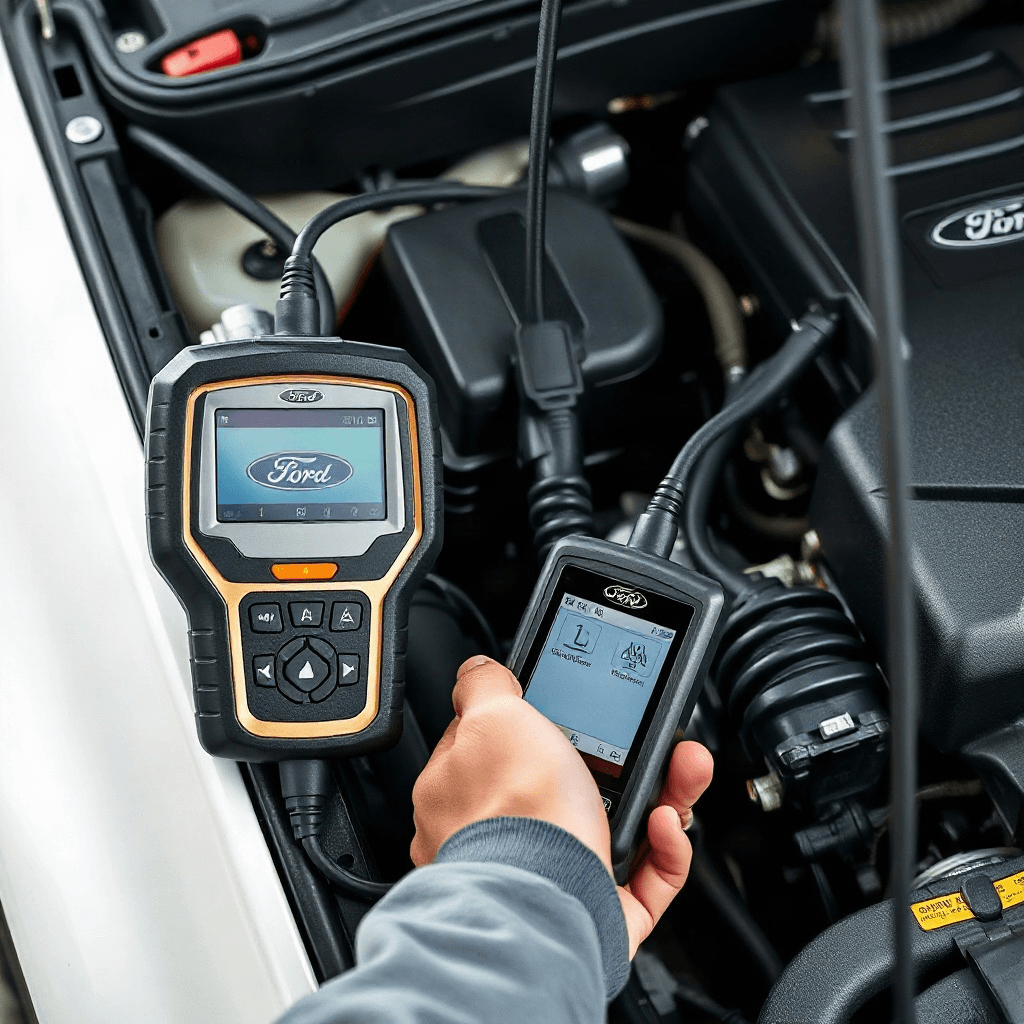
Before proceeding with testing, it’s essential to gather the necessary tools and equipment. A digital multimeter is crucial for measuring voltage, resistance, and continuity within the circuit. An OBD-II scanner is also required to confirm the P0030 error code and clear it after resolving the issue. Additionally, having the vehicle’s repair manual on hand can provide specific information about the oxygen sensor’s wiring and circuit layout. Safety equipment, such as gloves and safety glasses, is recommended to protect against potential hazards while working under the hood. With these tools ready, you can efficiently diagnose and repair the heater-control circuit.
Step-by-Step Process to Test the Circuit
Testing the heater-control circuit involves several key steps. Begin by disconnecting the vehicle’s battery to ensure safety. Locate the oxygen sensor in Bank 1 Sensor 1, and carefully disconnect the sensor’s electrical connector. Using the digital multimeter, check the resistance across the heater element terminals; it should fall within the manufacturer-specified range. Next, inspect the connector and wiring for signs of damage, corrosion, or loose connections. Reconnect the battery and, with the multimeter, verify the voltage supply to the heater element while the engine is running. If any anomalies are found, they may indicate a faulty sensor or wiring issue, necessitating replacement or repair.
Common Causes of Heater-Control Circuit Failures
Several factors can contribute to the malfunction of a heater-control circuit. A common cause is a failure within the oxygen sensor itself, where the heater element may burn out due to age or manufacturing defects. Wiring issues, such as corrosion or damage from environmental exposure, can also disrupt the circuit’s functionality. Additionally, a blown fuse or broken relay within the vehicle’s electrical system can prevent power from reaching the sensor. Understanding these potential causes can aid in pinpointing the issue during your diagnosis, ultimately leading to a quicker resolution.
Resolving and Preventing Future Issues
Once the issue is diagnosed, resolving it often involves replacing the faulty oxygen sensor or repairing damaged wiring. Ensure that all connections are secure and that the replacement sensor is compatible with your vehicle’s specifications. After repairs, clear the P0030 error code using the OBD-II scanner and monitor the vehicle’s performance to confirm the issue is resolved. To prevent future occurrences, perform regular maintenance checks on your vehicle’s sensors and electrical systems, addressing any signs of wear or damage promptly. Keeping your vehicle’s systems in peak condition will help ensure reliability and efficiency.