How to Reset a Car Sunroof After Battery Replacement

Resetting a car sunroof after a battery replacement might seem like a minor task, but for many car owners, it can be a perplexing challenge. Having worked in the automotive industry for several years, I understand that the complexity of modern vehicles can turn simple tasks into moments of frustration. When replacing a car battery, it is not uncommon for electronic components to lose their memory settings, and sunroofs are frequently affected by this. This article aims to guide you through the process of resetting your sunroof in straightforward steps, ensuring you can enjoy the functionality of your vehicle without any unnecessary hassle. Understanding the nuances of this process can save you time and prevent potential damage to the sunroof mechanism.
Understanding the Role of the Sunroof Control Module
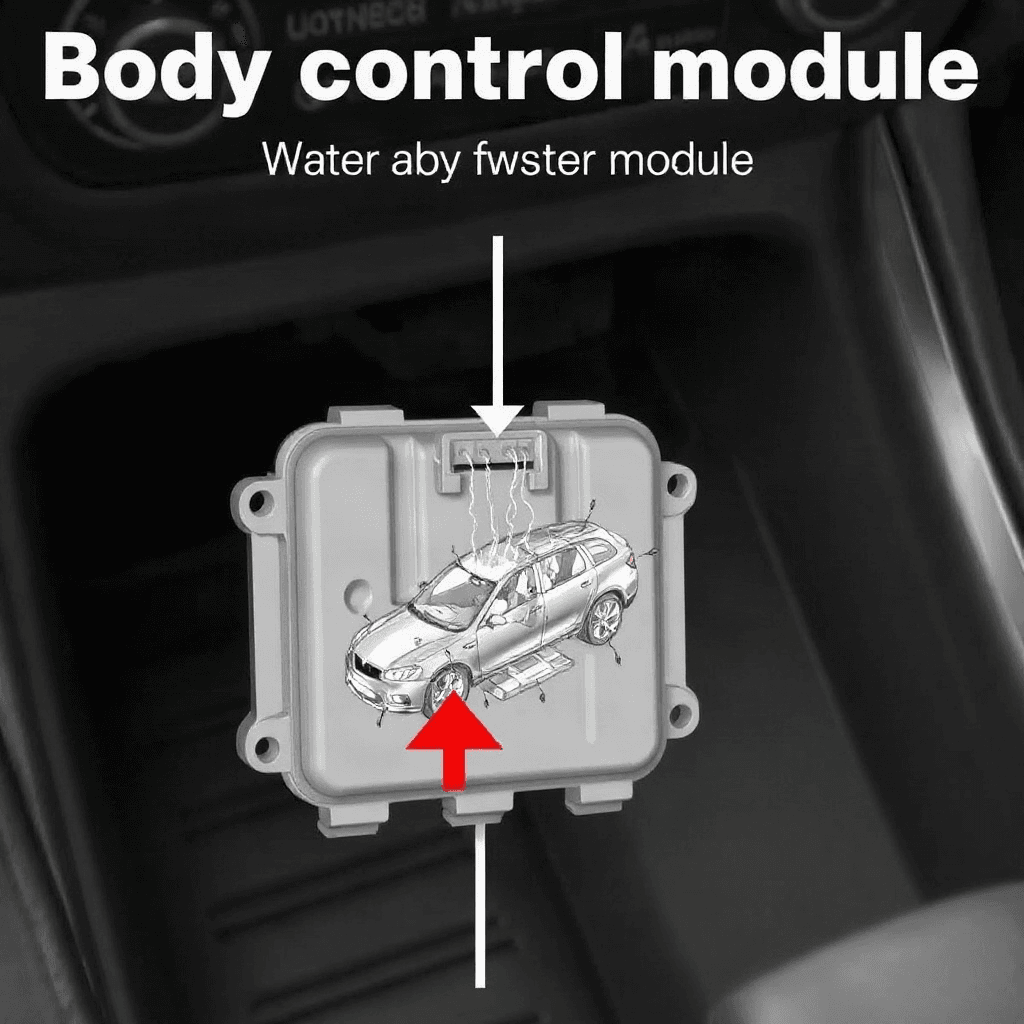
The sunroof in modern cars is controlled by an intricate system known as the sunroof control module. This module is responsible for managing the movement of the sunroof glass, its tilt, and its overall operation. When the battery is disconnected, this module loses its stored settings and needs to be recalibrated. This is why, after a battery replacement, your sunroof might not function properly. The module essentially communicates with the car’s central computer, ensuring that the sunroof operates smoothly and safely. Recalibrating it is not just about getting the sunroof to open and close; it’s about ensuring that the safety features, such as anti-pinch technology, remain functional. The reset process involves a series of steps that restore the module’s calibration, allowing it to work in harmony with the rest of the vehicle’s electronics.
The Initial Steps to Reset Your Sunroof
Before diving into the reset process, it’s crucial to ensure that your vehicle is in a safe and stable environment. The car should be parked on a flat surface with the engine turned off, but the ignition in the accessory position. This enables power to reach the sunroof system without the engine running. Start by locating the sunroof control buttons, which are typically found on the overhead console. Press and hold the tilt button, which is often used to initiate the reset process. Holding this button for a few seconds will trigger the sunroof to perform a calibration sequence. This sequence usually involves the sunroof moving from its current position to fully closed, then fully open, and back to closed. It’s important to keep holding the button throughout this process to ensure that the control module receives the calibration signals correctly.
Troubleshooting Common Issues During Reset
Despite following the steps above, you might encounter issues where the sunroof does not respond as expected. In such cases, it’s worth checking that the battery connections are secure and that there are no blown fuses related to the sunroof circuit. A loose connection or a faulty fuse can disrupt the power supply, preventing the reset from being successful. Additionally, if the sunroof’s movement is obstructed by debris or misalignment, it could impede the calibration process. In such scenarios, manually inspecting the sunroof tracks and cleaning any obstructions can be beneficial. For persistent issues, consulting the vehicle’s manual for specific troubleshooting tips related to your model can provide further insights. In cases where the problem persists, seeking assistance from a professional mechanic may be necessary to avoid causing damage to the sunroof mechanism.
Ensuring Long-Term Maintenance and Care
After successfully resetting your sunroof, maintaining its proper function requires regular care and attention. Keeping the sunroof tracks clean and lubricated is essential in preventing mechanical issues. Dust, dirt, and debris can accumulate over time, causing the sunroof to operate less smoothly. Using a soft cloth and mild cleaner can effectively remove dirt without damaging the components. Additionally, applying a silicone-based lubricant to the tracks will ensure smooth operation and reduce wear and tear. Regular checks on the sunroof seals are also important to prevent water leaks, which can lead to interior damage. Engaging in routine maintenance not only prolongs the life of your sunroof but also enhances your overall driving experience, keeping the vehicle’s aesthetics and functionality in top condition.
The Importance of Professional Servicing
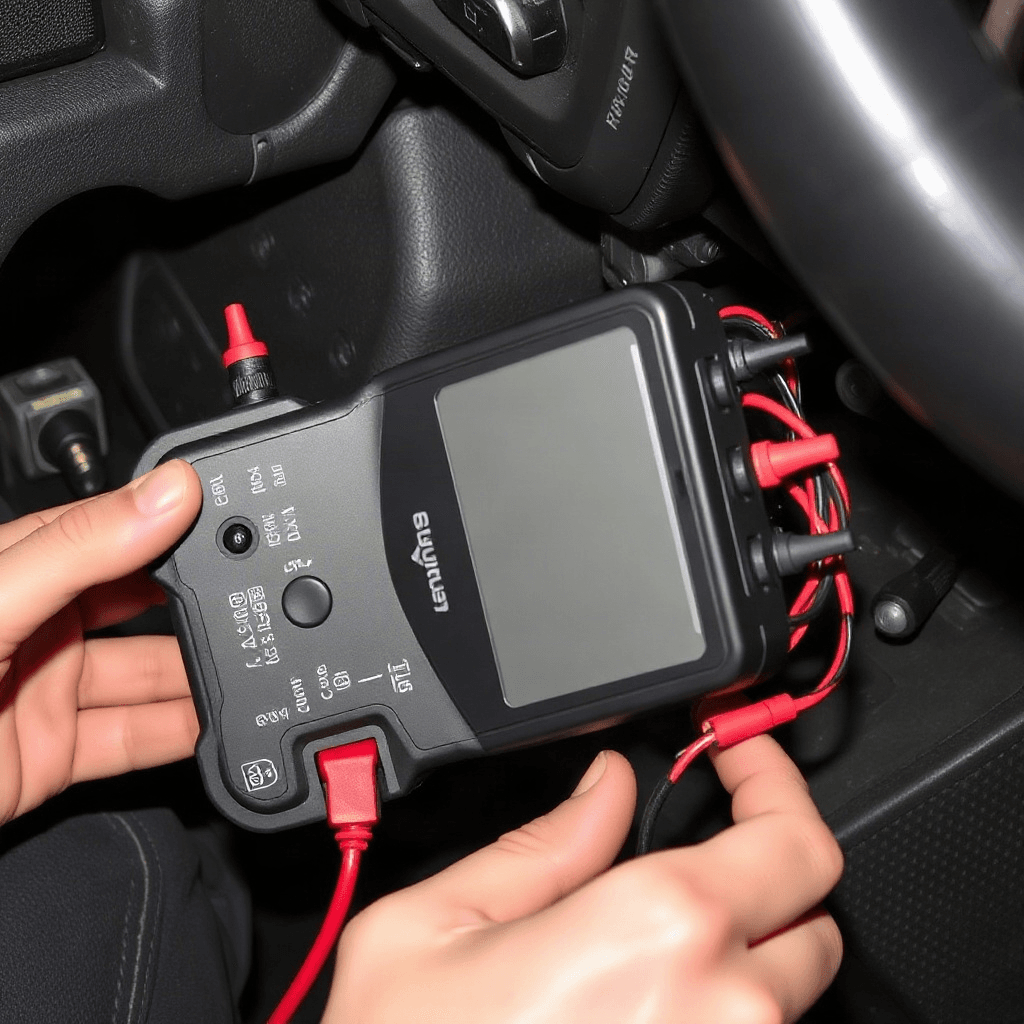
While many aspects of sunroof maintenance and resetting can be handled at home, there are times when professional servicing is indispensable. Complex issues such as electrical malfunctions or mechanical failures require expertise that goes beyond basic troubleshooting. A certified mechanic or dealership service can provide a comprehensive diagnostic, identifying any hidden issues that a layperson might overlook. They have access to specialized tools and software that are essential for dealing with complex automotive electronics. Furthermore, professional servicing ensures that any repairs or replacements are done using OEM parts, maintaining the integrity and warranty of the vehicle. It’s always advisable to consult professionals when in doubt, ensuring that your sunroof operates safely and efficiently.
Final Thoughts on Sunroof Resetting
Resetting a sunroof after a battery replacement is a task that, while initially daunting, becomes manageable with the right guidance. By understanding the role of the sunroof control module and following a methodical approach to resetting it, car owners can restore the functionality of their sunroof with ease. Troubleshooting potential issues and committing to regular maintenance further ensures that the sunroof remains in optimal condition. Ultimately, while the challenge of automotive technology can sometimes feel overwhelming, taking the time to learn and apply these practical skills can empower you as a car owner, providing both satisfaction and peace of mind. For additional information on maintaining other aspects of your vehicle, consider visiting our [car maintenance guide] for further tips and advice.